Brief Description: Landing Gear Attach Brackets - Final Shaping
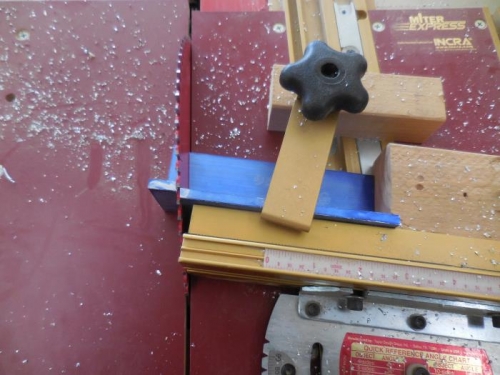
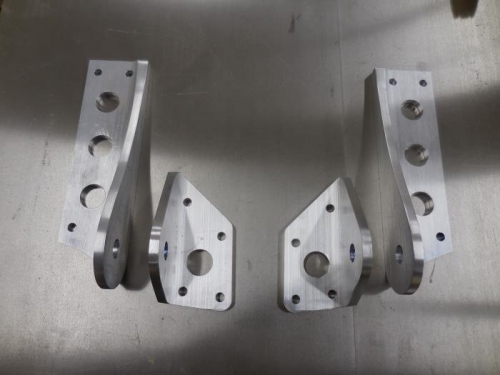
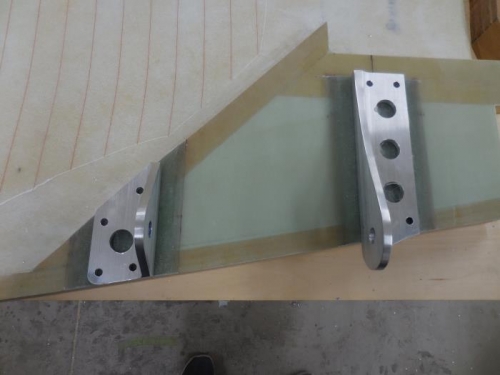
Today I finished shaping the landing gear attach brackets. I cut the fwd bracket bases to the scribe lines using my table saw with a metal blade. I then finished those up with sanders and files until they were smooth and fit in position flush with the fuselage wood. I then marked for the mounting holes. To get the holes centered in the fuselage wood I measured the width of the fuselage wood and marked half of that from the freshly cut bases of the forward brackets. I drilled the mounting holes and the lightening hole on my mini-mill. I then marked the ears for trimming. I measured the AN6 bolt hole edge distance to the edge of the 2.00 angle. I used this dimension to scribe an arc around the hole. I then used a straight edge to go from the base plate edge to the tangent of the scribed arc. I trimmed the bulk of the material off using my band saw and then used my belt sander to finish them up. I then turned my focus to the aft brackets. I used poster board patterns to scribe the curved shapes on the angle legs. I used the band saw, belt sanders, drum sanders, files, sand paper, etc until I had the shapes cut and smoothed. I have a spot face coming tomorrow which will allow me to spot face the hole that are closest to the vertical angles. Then on to alodine and pressing in the steel bushings.