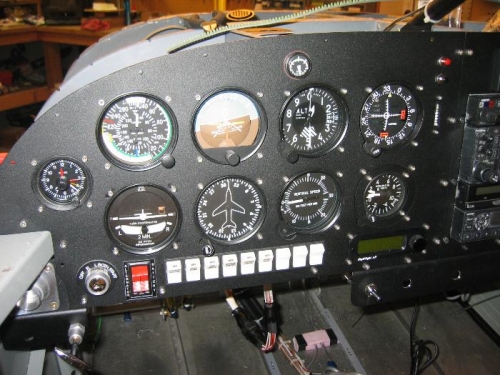
I made the instrument in three sections to facilitate removal and access to the wiring behind. The center panel houses the radio stack and is pretty much fixed in place, with access only after the radio, GPS, etc is removed. However the right and left panels can be uncsrewed and pulled aft to provide access. I added service loops to most of the wiring bundles which will allow the panel to at least be pulled aft several inches. Today I tested the removal of each panel to insure that this is still possible after the completion of the wiring. I had to reroute a few wires and trim a couple of areas of the instrument panel frame to make sure the panels are easy to remove. I also made notes on what wiring bundles would have to have their canon plugs separated in order to allow panel removal. In a couple of cases the wiring service loops had to be tied in place to keep from dangling below the panel, and would have to be released to remove the panel. The removable panels and the addition of access panels in the forward top skin should allow sufficient access to the behind panel area.
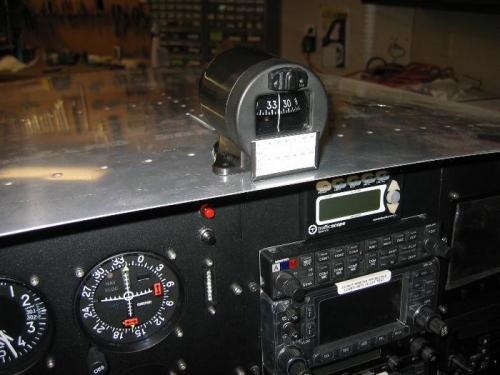
I also wired the light in magnetic compass to the instrument light dimming circuit. The compass will be mounted above the glareshield and the wire will pass through a hole in the skin (along with the roll bar mounted map light wires) to the dimming circuits.