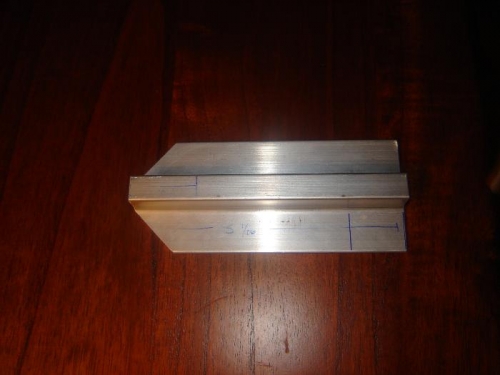
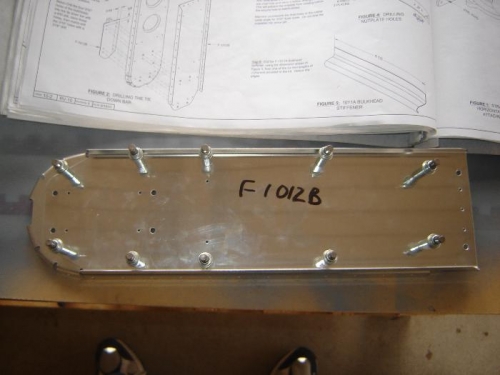
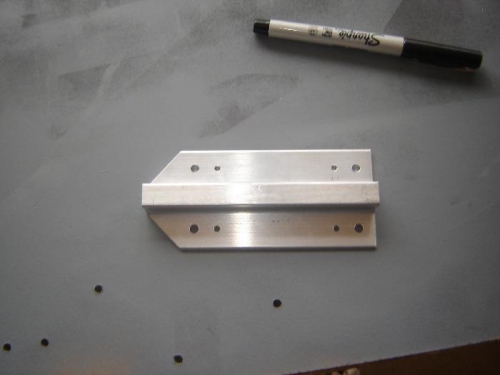
The tailcone section starts out by cutting down the tail tie-down anchor to size, tapping it for a bolt, and match drilling it to two fuselage vertical bulkheads. I started off by laying out the design. I cut it out as shown in photo 1 on the bandsaw. I was able to use the miter gauge attachment on it to get the angles aligned pretty well. I then sanded down to my marked lined on the disc sander. Finallly, I smoothed all the edges with the scotch-bright wheel. I then had to mark the piece with some alignment lines that will be drilled through later. This took some time in order to get the dimensions precise. I also tapped the vertical hole in the tie-down anchor. I have never done that before so I guess I can say that I learned something totally new which is one of the tenants of building an experimental aircraft. The plans call for match-drilling the 3/32" holes in the bulkheads to the tie-down anchor with a #30 drill. I elected to start with a smaller #40 drill to ensure I had a true perpendicular hole, then I final drilled them to size with the #30. As I drilled each #40 hole, I put a cleco in it to help ensure that it didn't move in the clamps, it seemed to work. Next I had to do something similar to the larger holes. The plans call for a 3/16" so I started the holes with a #19 (I think) and then final sized it with the 3/16" . I hope to be able to put an hour or two in everyday and I think this thing will finally get finished. The weather has sucked and I am working in a carport so it always has a vote.