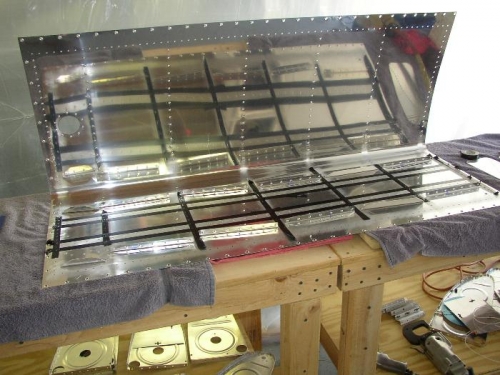
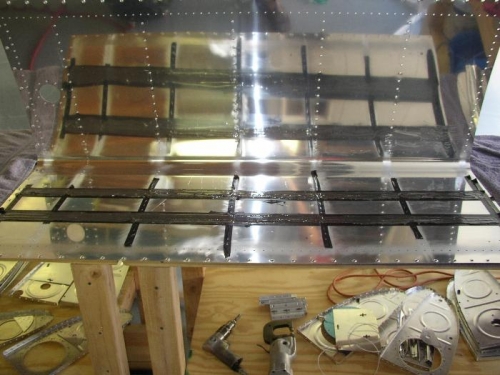
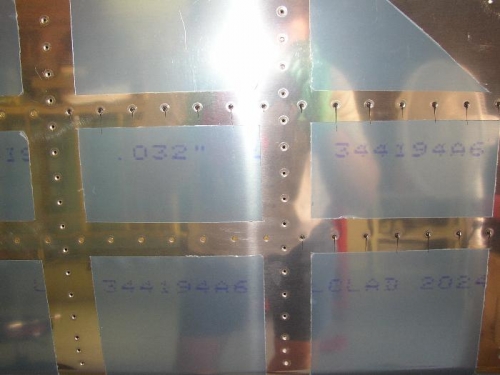
Okay, down to it - sealing the left tank. Starting of course with the stiffeners. Photo #1 shows the skin prepped for the sealing process on the stiffeners. I used black electricians tape to limit the mess from the sealer. Photo #2 shows the skin with the mixed sealer in place. This is some gooey, messy stuff. Photo #3 shows the outside of the skin as I tried to put rivets thru the sealer. You can see the black sealer running out of the holes. I had to clean as I went and pushed the rivets in place. Next step was taping them in place - see next entry for more photos.