Brief Description: Secure the Tip Fairing to the Rudder
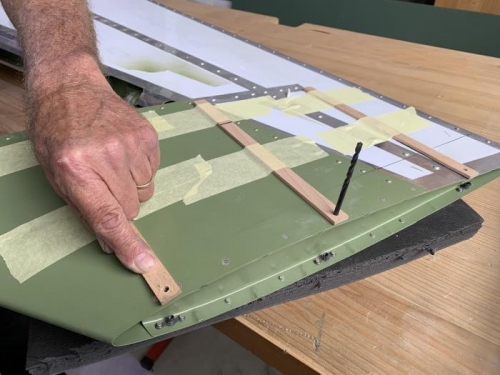
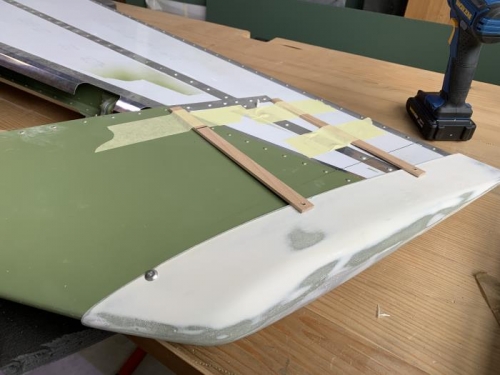
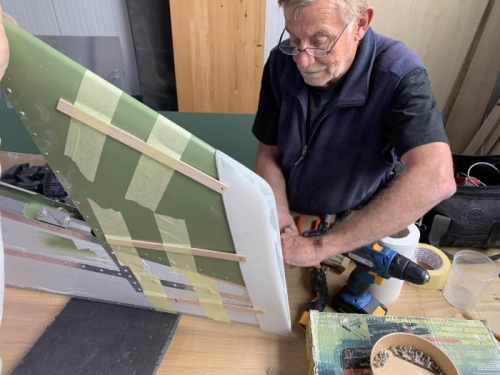
Step44: Secure the Tip Fairing to the Rudder In “SECTION III: RUDDER ASSEMBLY,” you drilled three #19 holes on each side of the rudder at the tip and mounted nutplates centered on these holes for securing the tip fairing. On both sides of the rudder, use a fine-point felt-tip pen to mark lines parallel to the top of the rudder skin and 3/8" below the centers of the #19 fairing- mounting holes, as shown in Figure 55. These lines mark the position of the lower edges of the tip fairing. You now need to transfer the locations of the fairing mounting holes in the rudder to the tip fairing. This is complicated by the fact that the mounting holes in the rudder are hidden by the fairing when it is installed. One way to mark the hole locations on the fairing is shown in Figure 55. First, use a straightedge and a fine- point felt-tip pen to mark two lines at an angle to each other centered on each hole, extending the lines several inches below the fairing lower-edge line, as shown in Figure 55a. Then slip the fairing over the top of the rudder and tape it into place with its lower edge even with the horizontal lines marked previously. Position a flexible straightedge with one end along each of the angled hole location lines and the other end resting on the fairing; use a felt-tip pen to mark the continuation of the lines onto the fairing. As shown in Figure 55b, the point on the fairing where each pair of angled lines crosses marks the center of the underlying mounting hole. After marking all six hole locations on the fairing, remove it and drill a #19 hole at each location. Secure the fairing to the rudder with AN526-8R7 round-head machine screws