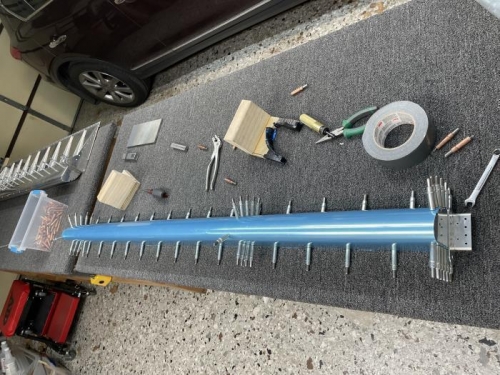
I disassembled the assembly from last session and decided to change the order of assembly to see if things would fit together easier. I started with clecos in the skin/tube first, then the lower skin to spar, upper skin to spar, then finally the skin to ribs. Things went together much better this time.
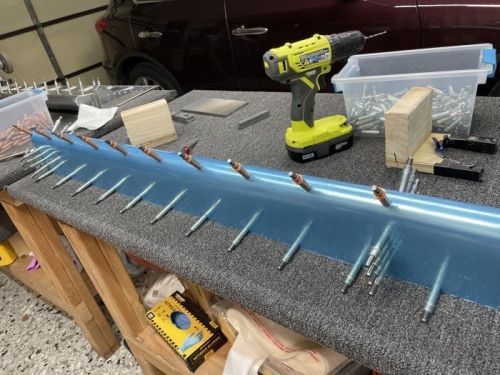
Match drilling the holes in the skin to tube went smoothly using my drill guide to keep the drill normal to the surface. I had no walking of the drill and used a new #40 bit so it cut thru the steel reasonably fast. Finished the #40 pilot holes and clecoed each holes as I completed it.
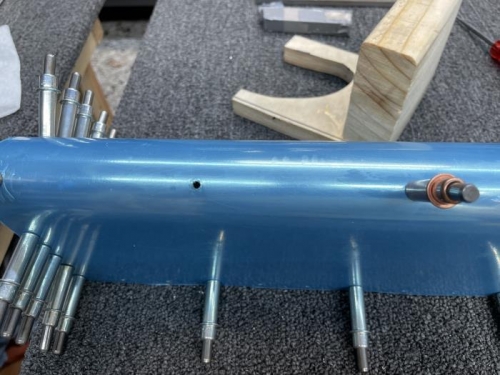
Before I final drilled the #30 holes, I had one area where I had apparently dropped something and it left a dent in the leading edge where the tube was. I used a hammer and gently tapped the dent back into place using the steel tube as a form. Dent gone and any minor blemish in the area will be undetectable after paint.
I finished up the session drilling the #30 final size holes.
Reassambled the nose a different way and this time it went together without issue
Holes for the skin/tube final sized. Dent was located between the two #30 clecos on the far right.