Brief Description: Riveted rear spar/rib assembly to skin
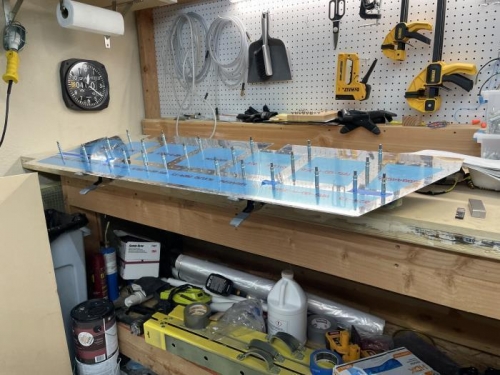
I managed to get through this session without a major screwup. The plans called for clamping the rear spar to the workbench and putting a 4mm shim under the ribs at the front spar to prevent deformation of the rear spar when riveting. I found that a paint stiring stick was almost exactly 4mm thick so it did the trick nicely.
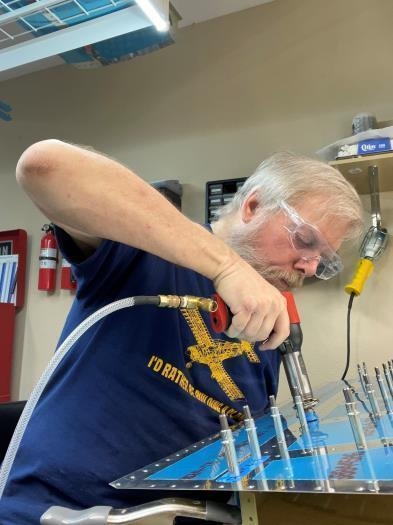
The toughest part was figuring out how to hold the bucking bar and position it properly since I couldn't see it. I put some painters tape inside the rear spar to protect the surface from the bucking bar. It was a little tough to get a good grip on it in the tight space.
On a couple of the rivets I thought I had the bar positioned on the rivet, but it wasn't and I left a minor crease on the skin where it pounded into the spar flange. Fortunately, as soon as I hit the trigger I knew something was wrong so it didn't do too much damage. When the skin is painted that blemish will be filled.
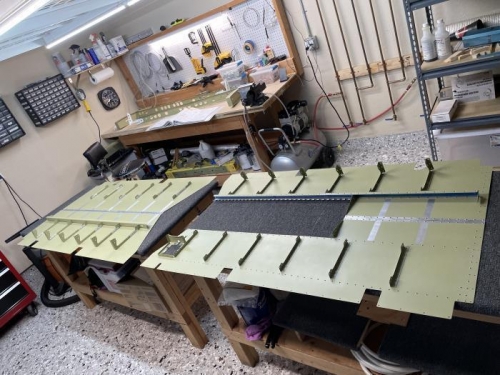
After the spar was set I backriveted the ribs into place. There was one fastener hole C/T the ribs and skin that I previously identified as bad so I oversized it with a #30 drill and filled it with a NAS1097 rivet. From the outside you can't really tell the difference.
Next step is to join the upper and lower sub assemblies together. That's for tomorrow.
RH assembly clamped up for riveting the rear spar to the skin
It was a tight squeeze with the bucking bar. I had to drill out only a couple of rivets.