Since the kit arrived I've been sidetracked with minutiae and I also had a bit of a mental block. I got some 2024-T3 sheet in a couple different thicknesses so I could practice cutting, deburring, drilling and riveting. Well, it's been about eight months since I took the EAA sheet metal workshop so the results were less than perfect. The thought of mucking up my actual airplane parts made me a bit hesitant to move forward.
I started by cleaning up all the drilling debris from my practicing and discovered something important. Aluminum shavings do not vacuum up easily from carpet. I spent about 20 minutes trying to get all the little flecks of metal that were entwined in the loops. Those little bits in the carpet will scratch the parts on top. Lesson learned: put down some butcher paper before you do a drilling or deburring operation. Either that or remove the carpet which I don't want to do.
I picked up a Black & Decker electric screwdriver to help deburr holes easier. Only $8 and works like a dream!
Work accomplished on the parts: Match drilled the VS-01401 doubler to the VS-702 front spar. Deburred both parts. Trimmed front spar per step 3 and 4. Straightened the VS-808PP doubler to within 1/16" per the method outlined in Section 5, page 5-14. Gave it a few good whangs!!
The remaining steps call for dimpling some of the holes, but I'm going to defer that operation until after priming. I've read that scuffing dimpled holes wears out the scotchbrite pads faster and it's more of a pain. Dimpling after priming seems to be well tolerated by the Akzo.
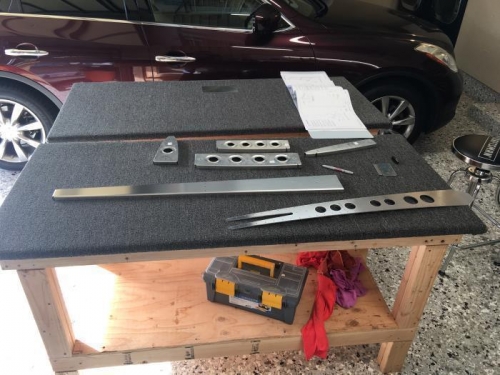
VS parts. Note the bend in the doubler. Gotta fix that.
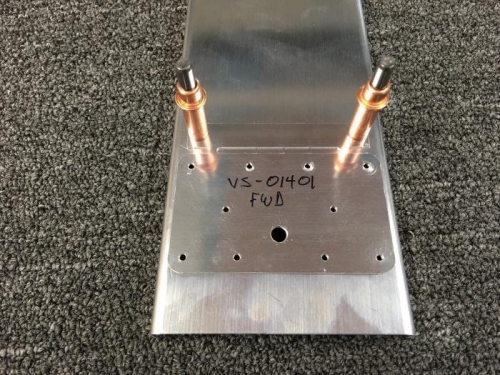
Step 1 completed! Cleco the doubler to the spar. A noteworthly first step.
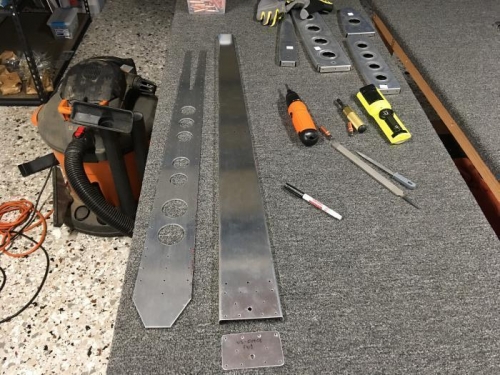
The three parts on the left are fully drilled, deburred and the thick doubler straightened.