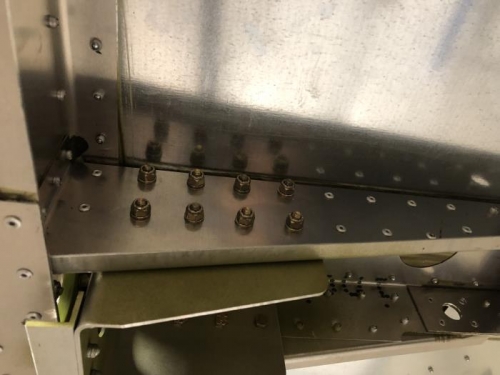
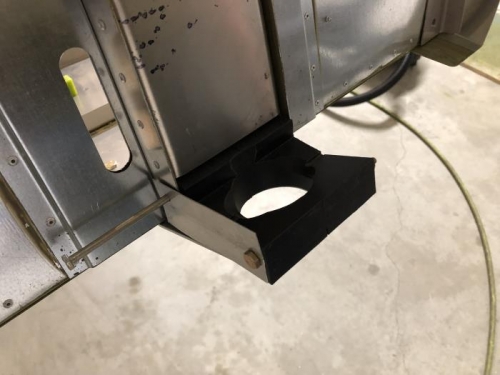
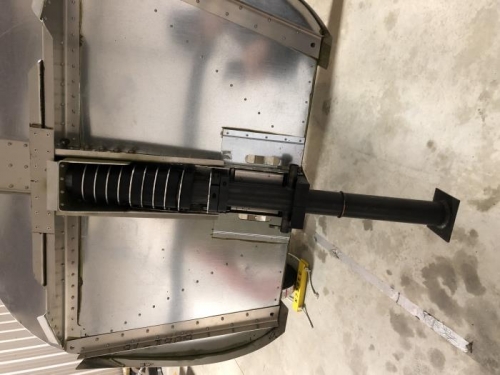
The nose gear strut was polished at the top and the rings were placed on it. The top bracket L-angles were riveted in place, using a wedge that was homemade. Then the brocket was bolted in place on the firewall. Next, the lower strut bearing was placed on the firewall, and the holes on the sides were drilled out for the bolts that will clamp the two pieces together. The strut was set in place to check the fit. Lastly, the nose gear fork and doubler were drilled out to 1/4" on the sides, and then I realized it was supposed to take an AN3 bolt, so they weren't bolted together, and will later be done with AN4 bolts.