All the parts on the Pick List were accounted for. Yea! Time to start the project.
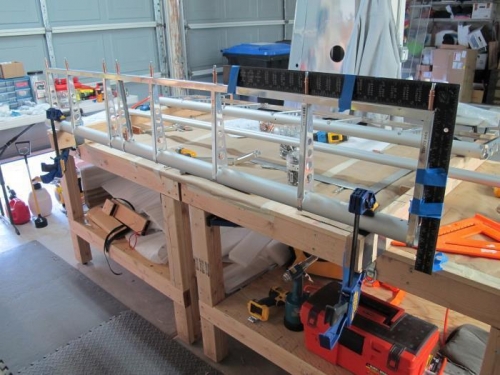
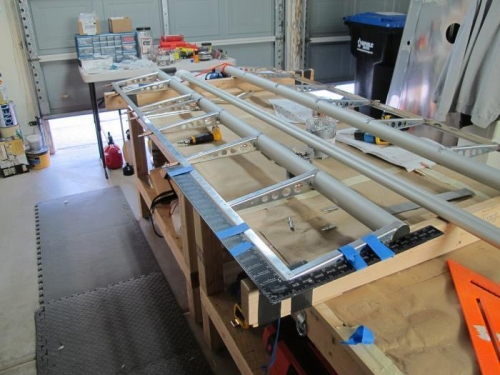
Pic 2. 6.1 Attach ribs to spars. Cleco ribs to front spar and then transfer drill holes in the rear spar with a #29 drill. When all ribs were clecoed I taped a square to the corner. This worked better than trying to tape the corners diagonally to hold the square shape. The 2 x 4s laying across the width of the bench have already been leveled in both dimensions.
Pic 3. The elevated level 2 x 4 platform made it easy to rotate the EL sections to the best position to step drill the front flanges fo the ribs into the front spar. I used a 19 x 30 step drill because the step drill allows a little better precision. Taping the square to the frame provided rigidity to the structure and I always knew the elevator was flat and square.