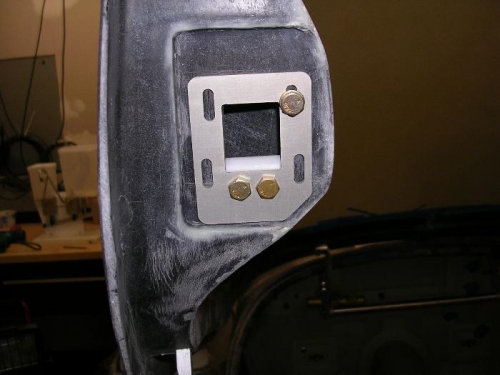
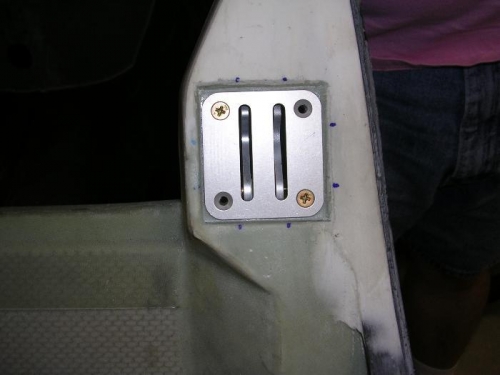
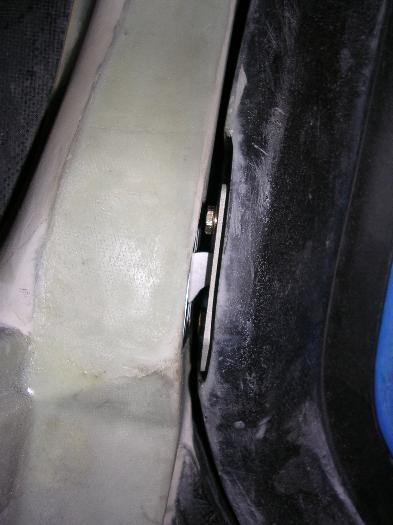
First step is to install a special screw on the fuselage fork bracket (see picture 2) that is drilled thru its center for a #40 long bit. You then drill thru that screw to transfer that center hole. You then lower the canopy and back drill to transfer that hole to the canopy. This becomes the corner pilot hold where the bolt is in image 1. We then removed the material in center of the canopy latch joggle to make room for the Delrin latch block. A t-nut is then added where the pilot hole is and rivets are coutersunk to allow the bolt to be tightened. Alignment with the opposite side of the canopy is maintained so that the two brackets are square (or plumb) across their tops. A hole is then drilled with a .5" hole saw, in the fuselage turbular role cage. This hole will be elongated later to provide the adequate clearance for the canopy latch pushrods. The fingers and canopy latch mechansim is then dropped down thru this hole and two short alignment screws are used to hold it in place while we test to make sure we have good alignment. As you can see in picture 3, our alignment is good. Final adjustment will come after the rain seal is installed.