Brief Description: Install Switches and More Support Ribs
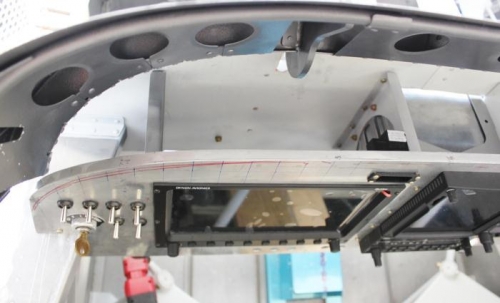
Drilled all the switch holes per my planning sheet. For the Starter switch I wanted the anti rotation tab in the panel, so I drilled out a smaller circle, then used Dremel and hand files to finish the opening including leaving an anti rotation tab. It worked. Only one small screw up. I thought the dimmer switch opening was 7/16, but it was 1/4. So, I re-shaped a hard rubber faucet washer as a ''bushing'' and enlarged the washer hole to 1/4. That worked great and it was installed. Did some trimming of the outer panel F645 rib flanges to miss the Skyview nutplates and the switch area underneath. Drilled mounting holes in the panel so the countersunk rib screws would hide underneath the edge of the skyview housing. Then proceeded to prime, paint, and install the ribs. The web of the ribs hugs the side of the skyview when installed. I can hang the skyview backup battery on the rib, or place a skyview network hub on it, or not. We'll see how much room I need for the rest of the install.
4 F-645 ribs used instead of 2 to stabilize the panel and provide add'l support.