Brief Description: Getting ribs ready to drill flanges
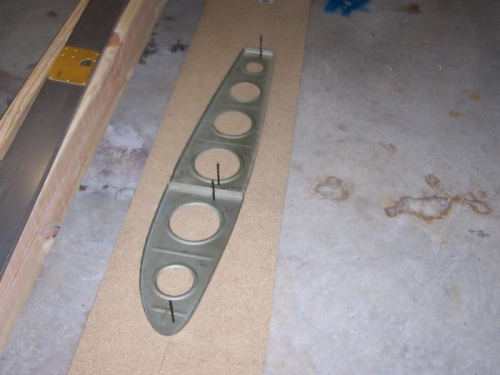
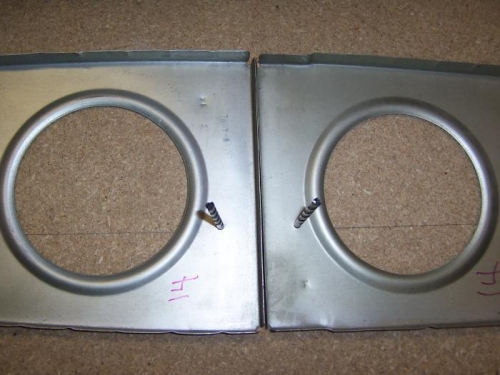
When you get the (through-the-spar) rivet locations marked on the rib flanges with your trusty Sharpie marker and template, you can use a scrap piece of wood to draw a straight line on. Then you take the main rib and mark the tooling hole locations (2) onto the top of the line you drew. If you have four AD6-16 or so rivets, cut the heads off and drill a hole where you marked the two tooling hole locations. Insert two AD-6 rivet shafts and you can mount your main rib onto those two rivet shafts. Then take the corresponding leading edge rib and line up its two tooling holes on the same line you drew for the main rib. Repeat the drilling and rivet shaft excercise. Mount your leading rib which then gives you two matching ribs ready to be match drilled through the two flanges that are now touching each other. You had already drilled five holes through the main rib earlier. Now match drill the leading rib and you are good to go. When you final position the main rib on the spar and match drill through the spar, you will be able to position the leading rib exactly for riveting. Clear as mud? It works. I did not have AD-6 rivets so I used four drill bits very close in diameter to the tooling holes to hold things nice and snug.
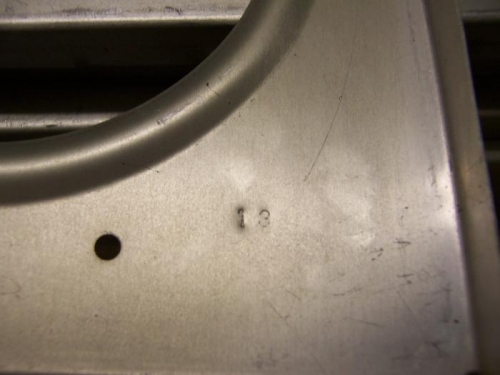
I also used a metal number stamping die set from Harbor Freight to stamp numbers 1 through 14 on main and leading edge (or fuel tank) ribs. Numbers will show through after priming so I can keep things in the proper order.