Left about 1/8 extra on the upper cowl cut line when I trimmed the rear of that cowl. It is very close and it easily uses up that 1/8 by slightly adjusting the forward edge of the cowl. Its that close. Wow. Didn't mean for it to be. I was more careful when I trimmed the rear bottom of the lower cowl. Did not trim the sides of the lower cowl yet. I can see I will have to cut, file and trim the forward area to allow the two halves to nest in each other correctly. Just remember, every time you move the front end slightly, that movement gets magnified back at the rear end of the cowl. I have to be careful not to take off too much material. I know I can refiberglass and reinforce anywhere I want, but thats just more work. Hope my efforts now will greatly reduce the rework at the rear. I saw some build sites with a lot of overlap along the sides between upper and lower. Someone must have reengineered the master blanks because there is no large surplus in this cowl. It flexes up and down as well, which can change the gap or lack of gap along the sides. More work to come.
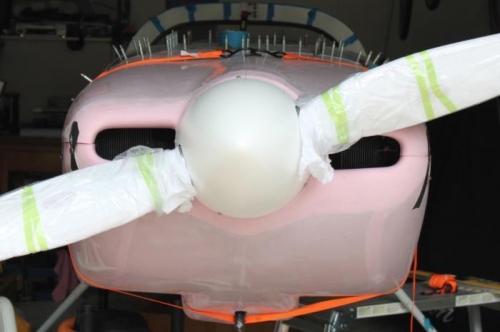
Relax. Its just rough taped together. Much fitting still necessary.
Looks like I need to file the inlet outboard joint and cowl joint at spinner.
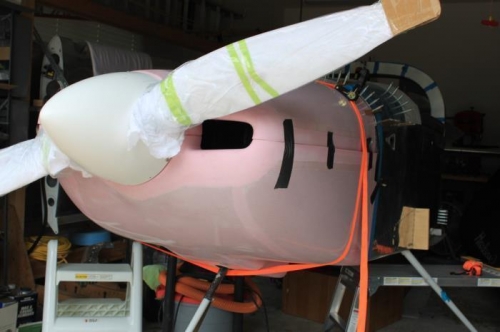
Same here. File outboard joint and thin the overlap behind spinner to allow better fit.