Brief Description: Added many nut plates to panel and sub panel
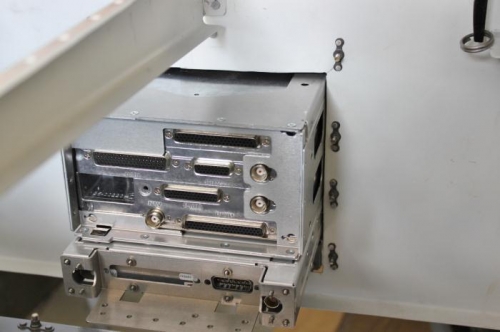
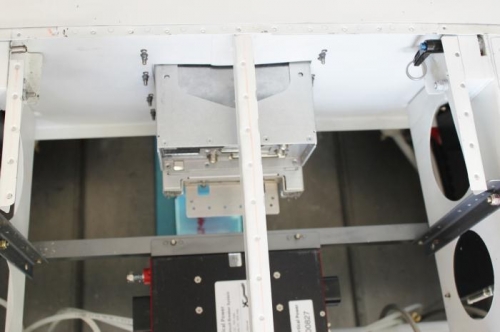
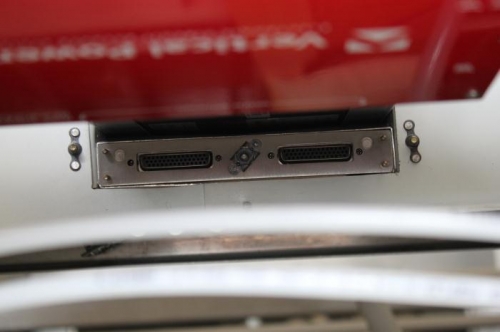
I can remove the panel and racks in under 10 minutes now. I disassembled everything so I could locate and install mounting nutplates for the center stack. The panel gets 8 6/32 ones, 4 on each side of the center stack. The sub panel gets 8 8/32 ones, same deal. I trimmed the bottom of the subpanel cutout to square it up and completely clear the lowest audio panel tray. Drilled remainder of rear tray support holes and bolted those to the mounting ribs. That required 4 new holes in the trays to get that done. Back together and installed again. Everthing fits. Only decision I had to make was do I want to see 8 black cap screws holding the center stack to the panel, or do I want to see 8 silver countersunk screws? Ended up counter sinking those 8 holes in the panel, although I did note that the cap screw head covers the countersunk hole quite nicely. So, I will go with flush screws and know that cap screws can be an alternative look.
Used hand squeezer all the way around the subpanel opening. Nice