Brief Description: Insalled roll servo -bracket- and hardware
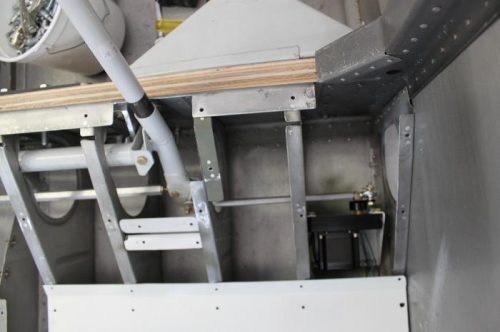
Went with nutplates in the servo bracket instead of washers and nuts. Mistakenly installed nutplates for AN3 flush screws before I realized (failed to verify with manufacterer install instructions) they should have been for 8/32 size machine screws. So, drilled all four out and installed the correct size. Bracket mounted fine. Servo mounted fine. Attaching arm needs some tweaking. There are a couple locations on the floor ribs that I marked in red for material removal to allow uninterrupted motion of the servo linkage. I'll grind those off later after I remove all the stuff again. I use hardware store nuts for speedy install and removal while I adjust the bearings for proper fit. Lock nuts and safety wire get put on in the end when its all finished. I did manage to adjust the jamb nuts too much one time and witnessed a locked up control when the servo arm rotated too far. There are procedures to follow on the installion which will prevent that , but its weird having your controls frozen by a lockup. That's basically when the servo arm is directly in line with the control tube and can't be moved up or down with the control stick. I can reach in and lift the servo arm a fraction and then its back to normal. Will be sure to keep that from occurring when I do the final install.
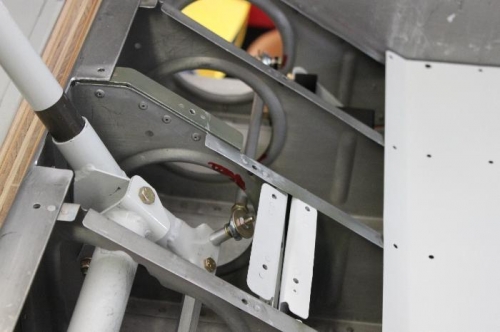
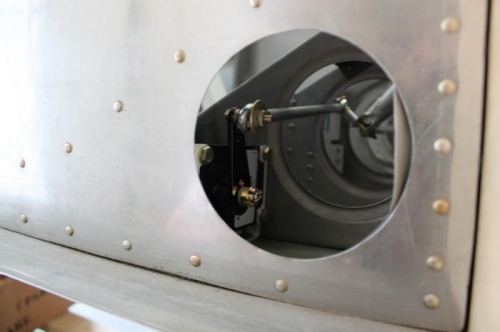
How the servo will connect to the control linkages.
Ribs marked in red for grinding off to allow servo movement.