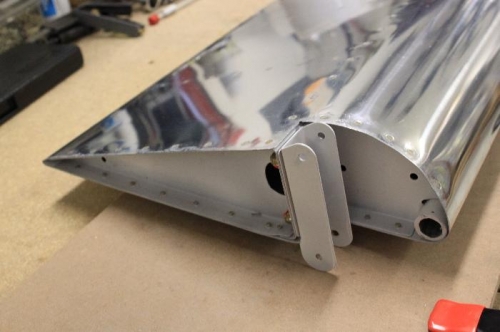
Completed left aileron including electric trim installation. The trim hinge pin is cut 1/2 inch shorter than the hinge. You drill a hole 1/8 inch in from each end and use cotter pins to hold the hidden hinge pin. Cotter pins were hard to install so as to not interfere with the hinge motion. Waiting for another order from Vans for 4 one lug nutplates to close up the servo access cover. The aileron nose rib is not suited to take normal K1000-06 nutplates. Still need to decide how to route the servo wires into the fuselage without causing too much motion stress on them. Maybe into to wing tip then to the fuselage. Hinge bracket 1/4 inch centerline hole measurements were exactly correct (5/16 below bottom skin and/or 1 5/8 inch below centerline of tooling holes in the end aileron nose and body rib. Torqued bracket bolts to 30 inch lbs and applied torque seal. I wonder how much actual trim motion is necessary when flying. Seems like there is way more than necesary motion with this servo. We'll see. On to the flaps.
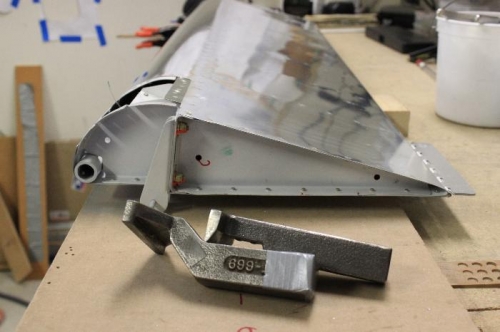
Bucking Bars used. You palm the 669 to keep the bottom from vibrating a dent in the lower skin .
Hinge Pin Cotter Pins were hard to keep out of the way.