
|

|
|
|
Wendells RV-6A
|
Date: 10-29-2010
|
Number of Hours: 4.00
|
Manual Reference: Aileron Trim
|
Brief Description: Electric Aileron Trim Installation
|
|
I can't believe I spent so long on this little task. You must think about the related impact of everything you drill, cut, etc. For instance, when I installed nut plates to hold the fabricated electric trim aileron cover in place, I did not give consideration to the servo tray which gets screwed into place inside the nose of the aileron. Well, one nutplate slightly interfered with the servo tray side wall. So, I had to grind off a little of the tray sidewall flange and bend it ever so slightly to clear the side of the nut plate. Its crazy stuff like that which gets you. After I match drilled the bottom skin reinforcement doubler where the servo control rod exits the aileron skin, the rivet holes on the outboard side could be dimpled with the hand squeezer. The ones on the left side fo the slot were 1/2 inch too far away from the edge to use the hand squeezer. So, I used the pop rivet dimple die set on those. If I took the time to seperate the skin from the skeleton again, I could have dimpled them all manually, but I still had a lot of finish work to accomplish to complete the electric trim assembly. So it goes. I added the significant location measurements on the exit slot for the control rod in a picture below. YMMV depending on how you mount the servo tray. A slight difference in the servo mounting angle will have a significant change in the slot measurements. I now have completed the assembly. The next step will be removing the skin, dimpling the skin, countersinking the spar holes and riveting it all together permanently.
|
|
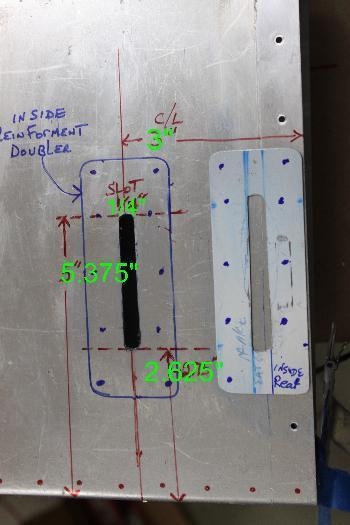
Getting the locating dimensions right.
|
|
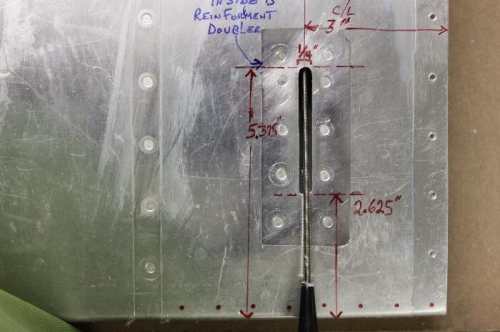
installed the reinforing plate
|
|
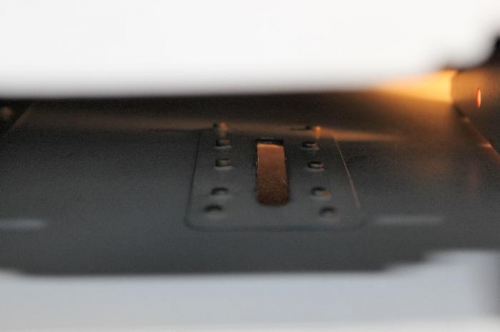
A Peek inside to see the reinforcing plate.
|
|
|
|
|
|
|
|
|
Copyright © 2001-2024 Matronics. All Rights Reserved.
|