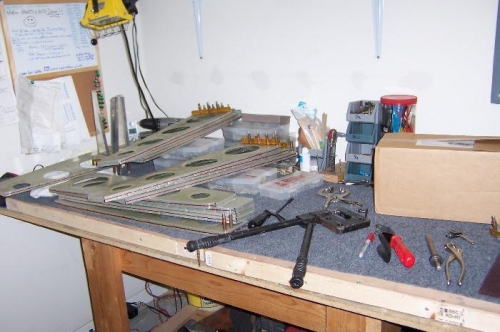
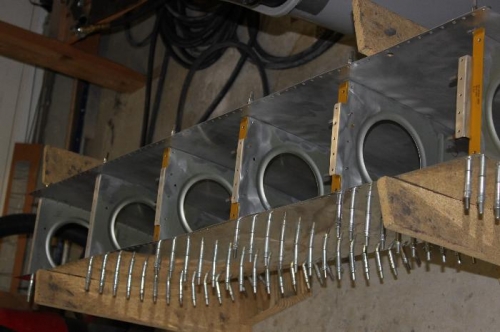
This was a tediious job. Hand squeezing all the ribs wasn't so bad. Cleaning the ribs was. I had used clear packing tape over the leading edge rib flanges so they would slide easier while positioning them for drilling through the skins early on. Lets just say the tape decided to bond with the rib flange/web surfaces and leave it at that. Acetone time. Also used a 3M softer wheel brush in the drill press to clean up the surfaces. The ribs all have some kind of coating on them. I am beginning to think it was an alodiine coating. The tank ribs had the same hue to them and early on I removed all of that with acetone, thinking it was wrongly primed with clear primer by a previous builder. On the leading edge and main ribs, I buffed out areas that had some small surface scratches or residual adhesive from the tape and left the bulk of the coating on the ribs. I will clean them up with degreaser and wash and dry before priming. Reassembled the leading edge in the tank jig after all the dimpling to ensure proper fit before priming and riveting. Next up I will cut out the landing light opening and install the Duckworks light framework so it will be ready for installation after priming. On this right side wing, it will be simple because I have total access to all sides while it is off of the spar. Also, I have learned how just the smallest adjustment on the hand squeezer to get the leverage right makes all the difference in the world when applying squeeze pressure over and over. The adjustable dimple die holder tends to rotate a little as you go from hole to hole so you must readust the pressure several times. If you don't, you have too much spread in the handles to comfortably apply pressure.