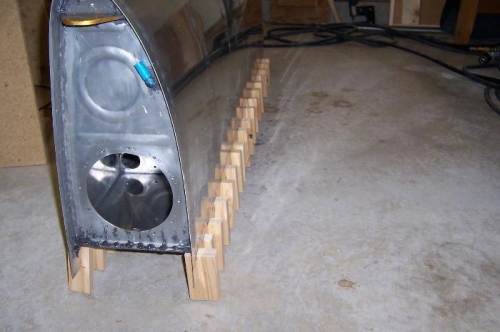
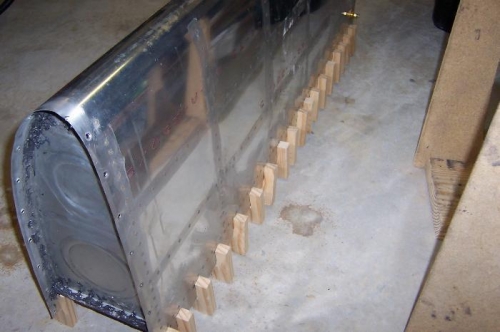
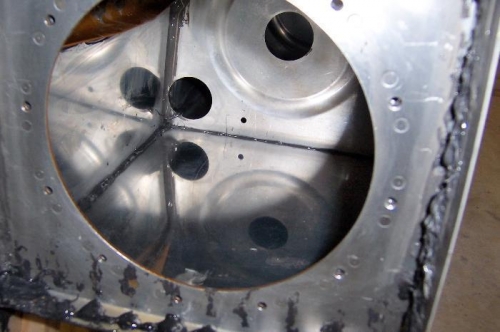
Woohoo!! When someone sees these pictures they KNOW the fuel tank is complete. I Installed the rear baffle today. Mixed 198 grams proseal (180 White 18 Black) Recleaned all mating surfaces with MEK. Protected the exposed tank skin aft of the baffle with blue tape to keep proseal off anything aft of the rear baffle. That area needs to be clean to screw into the main spar flanges. Spread proseal just a little high along inside tank skins and across back of all rib flanges ( the ones that get the AD41H sealed pop rivets). Then spread a thin layer on the rear baffle flange and both ends where the squeezed rivets go. Had no trouble installing the rear baffle. I inserted the baffle at a slight angle, top side first, then holding the bottom flange of the baffle with one hand, I spread the bottom tank skin slightly and the baffle dropped right in. I then clecoed the 1/8 in holes in the rear of the tank ribs and the 3/32 holes in the two end ribs. For the two long top and bottom runs I clecoed every other hole to start with. Pop riveted the AD41Hs first (32). Then squeezed the end rivets (20) followed by all the side rivets (132). Cleaned up the smudges on outside tank skin and outside rear baffle with MEK. Then covered each shop rivet head with proseal (184 including the pop rivets). Took a finger dollop of proseal and reached in through the access opening on the end and squeezed a little more into the rear corners of the end rib inside. While the tank was still upside down in the forms, I finished by squeezing 36 wood clamps onto the tank skin/baffle flange to keep those two squeezed real tight so the proseal could set up. Looking inside, I could see a nice bead of proseal along that baffle/skin joint. I turned the tank over to let gravity help settle the proseal beads down into the seam. Will leave it this way for three days minimum before installing the fuel sender/cover and testing for leaks. 1 hour cleanup including all clecoes..