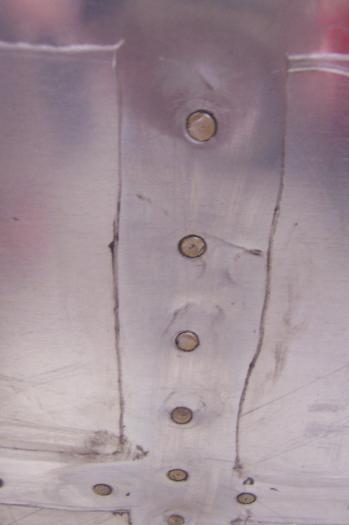
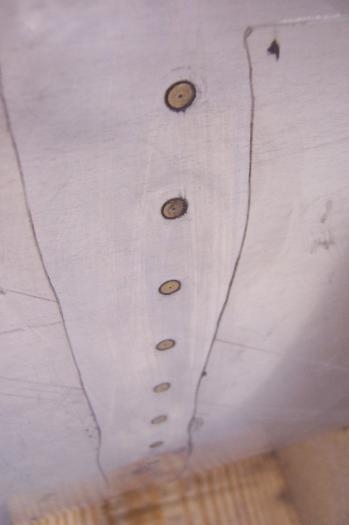
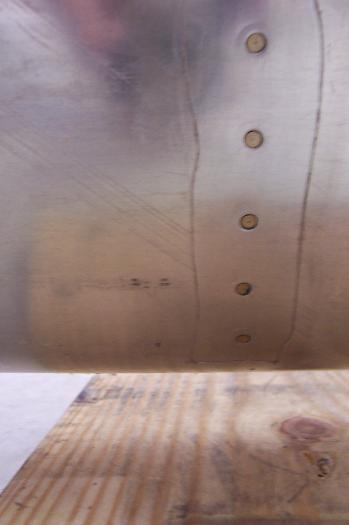
Riveting the tank skin to rib 5 taught me something very quickly. I thought I would use the back rivet flush set to push the skin against the rib while I held the bucking bar inside and set the rivet. Bad idea. Luckily, I started at the back of the bottom side of the tank. 1st image showed a couple dents trying to use that back rivet set. Proseal squeezes out around the head and the rivet set slides off center very easily. Besides, that rivet set has a small flush face. So, I changed out for a straight flush rivet set. About 3/4" wide with a silicon ring cushion around it. Bingo. It worked flawlessly. Image 2 and 3 shows how great the flush rivets sit. The tank dimple die I used was able to set a very slightly deeper dimple in the skin and rib to account for the proseal buildup.. I was very happy with the finish.
The titanium bucking bar is so cool to use. I am sure for this job, a regular steel bar would do fine. Its just that the titanium is so nimble to hold and its so dense.
Take time to be sure to encapsulate the shop heads and smooth the proseal bead between the rib and skin, and under all flutes. Clean your clecoes, cleco pliers, rivet gun, bucking bar, excess proseal on outside of tank around fush rivet heads and anywhere else you touched the skin with your sloppy gloves while trying to hold everything.