
|

|
|
|
Todd's Web site
< Previous Log Entry
Next Log Entry >
|
Date: 2-23-2013
|
Number of Hours: 4.50
|
Manual Reference: 10-1
|
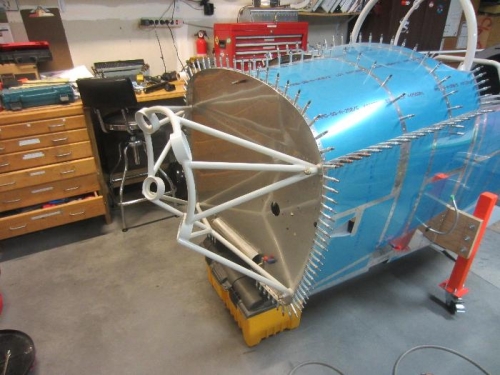
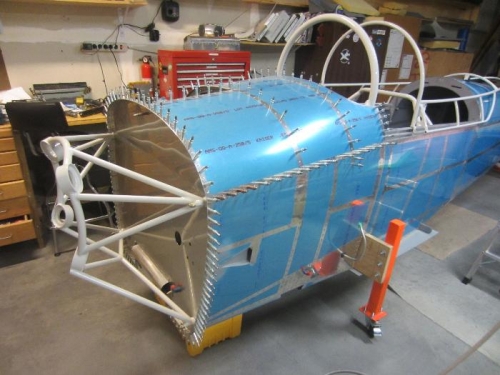
Brief Description: Engine Mount
|
|
-Instructions don't give alot of detail...they pretty much just say "install the engine mount".
-This entry is a compilation of several work sessions.
-There can be quite a bit of variation between the pre-punche holes in the firewall and engine mount holes. This is due to the fact that the mount is welded up in a jig, but upon cooling, there will always be some movement. Anyway, the pre-punched holes in the stainless firewall start out at 3/16", and that is the hole that is pre-punched. Eventually it becomes a 3/8" hole through the firewall, several crossmembers, and finally the steel engine mount brackets in the four corners.
-Of course, my mount wasn't even close to aligning to all 4 holes, but the good thing was the all the holes aligned horizontally, just not vertically. After much reading on VAF, I decided to go ahead and drill the 4 holes on the airframe 3/16", put 4 long AN3 bolts through them, and then I was able to slide the mount over them requiring only slight hand pressure to spread the lugs.
-So then I started a slow process of enlarging each hole one at a time. First with the mount on, I would pull the long AN3 bolt of the I wanted to enlarge and mark the direction I wanted to the hole to move by sticking a small sharpie into the mount lug. Then I would remove the mount, and use a 1/4" circle template to mark a 1/4" hole, biased in the direction I wanted it to move, then used a small round file to "open" up the hole to to center the drill bit. Then I would temp install the mount and tighten down the other 3 bolts. I made a drill bushing out of 3/8" tubing so I could put a 1/4" bit in the bushing, then slide the bushing into the mount lug to use it as a drill guide. The bit would automatically find the center of the "opened" up hole and then it was a matter of drilling through the rest. Then I could install a long AN4 bolt through the hole. I repeated the process for the other 3 holes until I had AN4 bolts in the holes.
-Then I had to do it all over again stepping the 1/4" holes
|
|
|
|
|
|
< Previous Log Entry
Next Log Entry >
|
|
|
|
|
|
|
Copyright © 2001-2024 Matronics. All Rights Reserved.
|