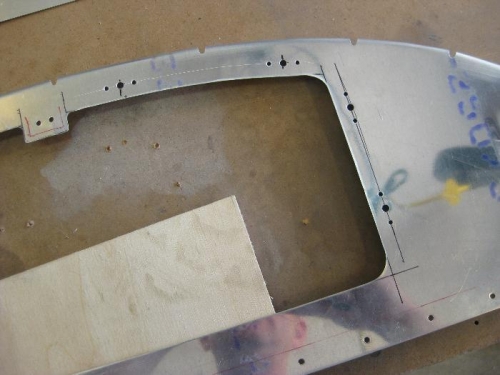
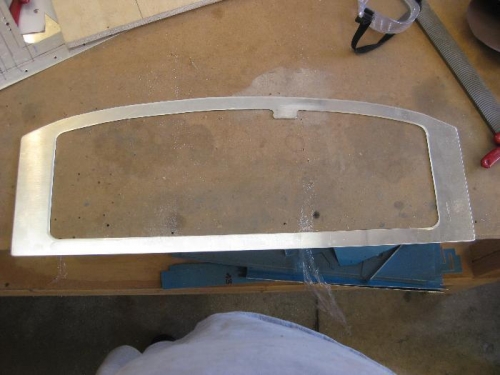
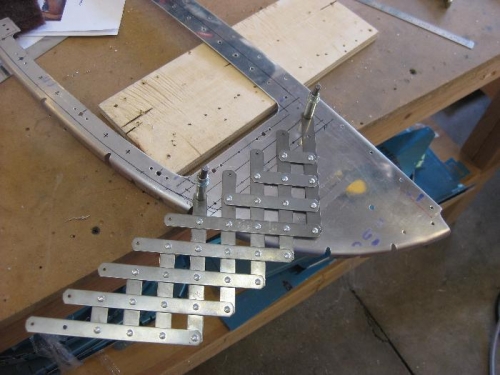
-After the initial cut with a disc, I carefully trimmed just to the line with a rotary file in the dremel, then finished the edge with files and crocus cloth. Worked well...lot of aluminum dust, though! -Layed out nutplate holes and rivet holes for the doubler -Layed out and cut the doubler using the same technique described above...took me awhile... -Cut and layed out rivet holes for the hinge pieces -Layed out and cut the access door. -All in all, it was a great day of fabricating!! And it turned out rather well if I may say so myself! Using .040 for the doubler and door and a bunch of rivets and screws may be overkill, but I wanted it to be at least as strong, if not stronger, than the original single .025 piece. -Dimpled and countersunk everything as needed. -Fit, drilled, and deburred all the parts IAW the instructions. -Prepped all parts then primed everything -Riveted together the access panel on the bulkhead...works great! -Installed nutplates on all the other required parts. -Backriveted the stiffeners to the baggage floor -Riveted the mounting plate to the lower bulkhead -Clekoed the upper and lower bulkheads to the Fwd upper brace. -See next post for more pics of the same day
Opening all smoothed out and screw/nutplate holes located and drilled.