
|

|
|
|
Todd's Web site
|
Date: 7-9-2006
|
Number of Hours: 4.00
|
Manual Reference:
|
Brief Description: Left Aileron #5
|
|
Finished drilling, deburring, dimpling, countersinking, and priming everything. Began assembling everything. Riveted the nose ribs to the counterbalance pipe, then clekoed on the leading edge skin. Then riveted the nose ribs to the spar with 1/8" rivets. Was admiring my handywork after squeezing those six rivets and noting how good they look when I realized I had riveted it together with spar upside down! An hour later, after carefully drilling out the 6 rivets, I had it all back together and on track.
Riveting the leading edge and trailing edge skins to the top of the spar is next. You cleko it together while leaving out the trailing edge end ribs and you don't cleko the bottom of the assembly to allow you to get in and buck the top rivets. I was able to get a few rivets squeezed at the ends with the hand squeezer, and managed to even succesfully buck a few myself when it was time to clean up and go inside. It's not difficult to buck the rivets near the ends, but once you start getting into the middle it definitely becomes a two person job. My neigbor has already said he wants to learn to buck, so I might be teaching him tommorow...
|
|
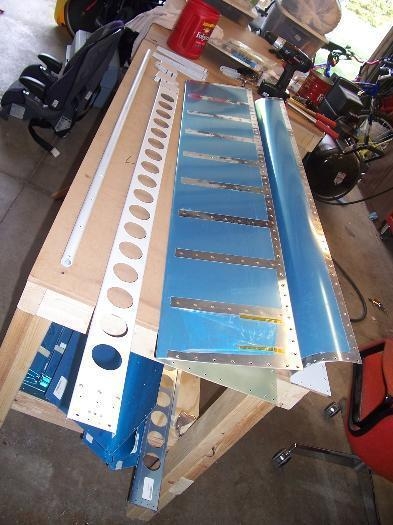
Everything drilled, deburred, dimpled, countersunk, and primed...ready for assembly
|
|
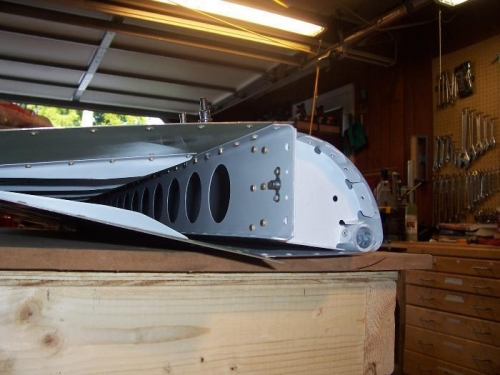
Getting a bucking bar in there to buck the top skin rivets will be a two person job.
|
|
|
|
|
|
|
|
|
Copyright © 2001-2024 Matronics. All Rights Reserved.
|