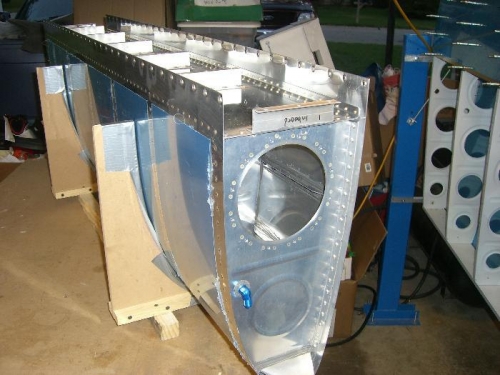
Brief Description: Rt Fuel Tank #21 - Installing Baffle
Cleaned everything with MEK, got everything ready for mixing proseal and went to work. I used the plastic bag method to get a nice bead of sealant along the rivet line on the tank skins. Taking the lesson learned from the first tank, I GLOBBED the sealant in the corners and closely inspected everything to ensure a good seal will form before dropping on the rear baffle. 100% clekoed the baffle into place. Set the regular and blind rivets into the aft flanges of the ribs, tank baffle, and wing attach brackets. Set all the skin rivets and cleaned up.
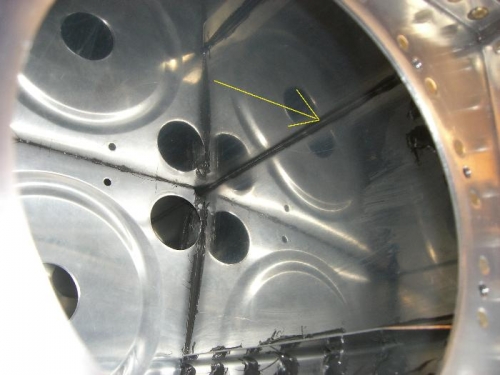
Let's keep our fingers crossed!!! I sure hope it's a leak free tank!!!
I hope to be able to seal the access plate on tomorrow, then let it all sit a cure for at least a week before leak checking.
Everything but the access plate installed and riveted
Looking in at the bead formed when pressing on the baffle - hopefully leak free!!!