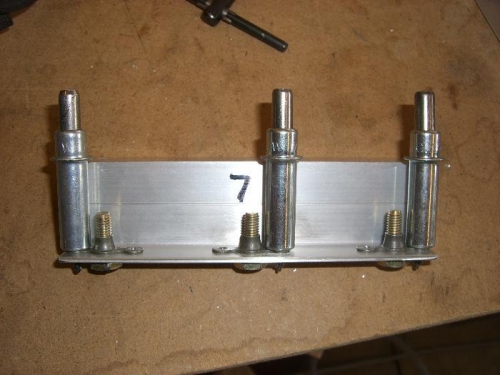
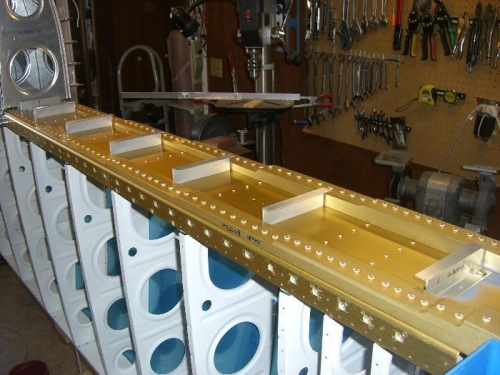
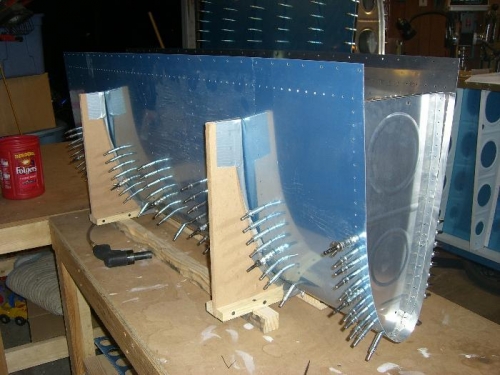
Bolted all the z-brackets to the spar through the one center hole, squared them up, then used the holes in the spar to drill the other two holes in each bracket. Removed the brackets from the spar and deburred. Then I used the old loosened hardware from the left tank to locate the holes for the nut plate rivets (see first pic). After drilling and deburring all those, I had to countersink the bottom side that sits on the spar. That's when I discovered I didn't have enough nutplates for all the holes....argh. So I went and made an order with Vans. I had to order some tank sealant and other things anyway, so I just went ahead and got some more hardware to boot. I had enough to get at least 2 nutplates on each bracket, so I pressed on. Bolted the brackets to the spar, and started to wrestle the right wing tank together.