Brief Description: Fitting Canopy Frame to Fuselage
This entry is a compilation of several work sessions:
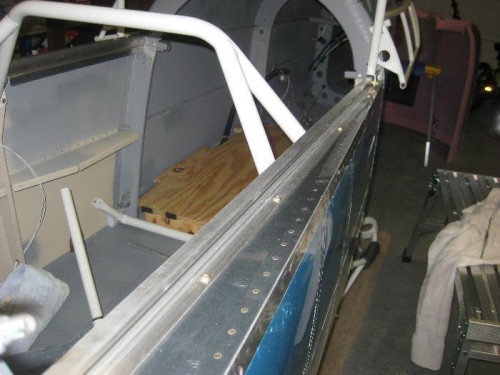
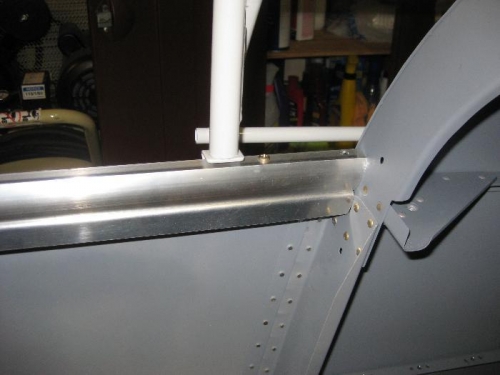
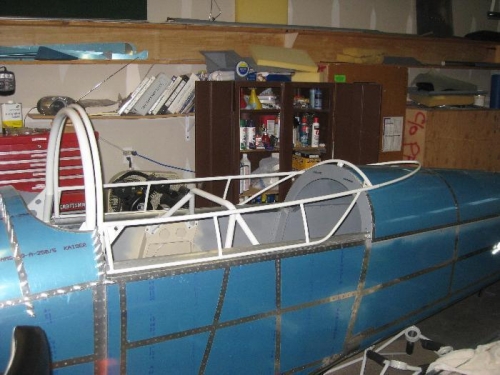
-Before drilling and installing the side rails, the instructions have you "adjust" the canopy frame width so the countour of the frame blends smoothly with the contour of the fuse. I made strips of metal to simulate the canopy skirt and discoved my frame was quite a bit too wide. So I got the cargo straps out and did alot of "adjusting" to the frame. There was alot of trial and error, and the amount of force I had to put on the frame with the straps so it would spring back a little more adjust was worrisome....I was uncomfortable. After what seemed like30 cycles of "adjusting" and re-installing to check, I finally had 4 of the 6 metal strips indicating a nice blend. I decided that was good enough and figured I can make up the rest when I do the skirt work. -Established the final position of the canopy rails and drilled the installation holes per the plans and instructions. -Deburred the holes and trimmed the rear part of the rails the stick out the side of fuse -Installed the side rails per the instructions and plans -Installed a rear-stop bolt on the right rail to keep the canopy lock mechanism from hitting the F-807 bulkhead when the canopy is opened. -Adjusted the the canopy frame aft bow ("adjusted it with a 2x4 lever) to get the correct height above center slide rail. Plans call for a 3/4" to 5/8" gap...it was 2 1/2" when I started.... -Located and drilled the mounting holes in the F-807 bulkhead for the C-806 anchor block. Deburred and dimpled the screw holes in the bulkhead, and countersunk and counterbored the holes in the block per the plans. Installed the anchor block. -Frame now rests on permanently installed rails and slides back and forth smoothly and easily...time for a canopy....