Lots has changed since the manual was written and each different type of engine will requirea different installation. I'm going with the Tital 340 (insert grunting manly mas macho sounds). This engine requires additional support where the motor mount bolts go through the firewall flange. There are two choices. First choice is fast and easy. Flox in and glass over 4 heavy metal gussetts. The second option is to epoxy in 4 carbon fiber gussetts. Each gussett is made of 8 layers of carbon fiber which is very strong and lightweight. I'm trying to keep the plane light, so this is the option I choose.
The first step is to determine where the gussetts should be located. They should be centered on the motor mount bolt holes. so we need to determine where that is.
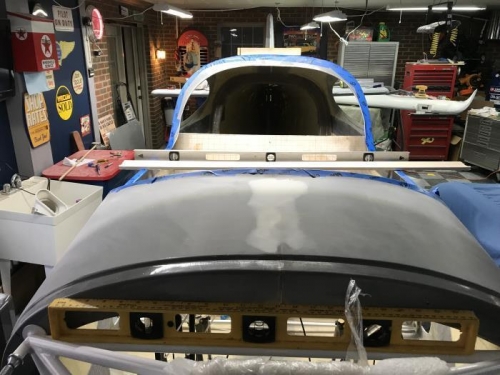
With the help of buddy Dave (and part time airplane factory employee), we leveled the plane and held the motor mount to the firewall flange. When it was centered and level, I drilled the upper left hole, while Dave held the motor mount steady (with the help of some clamps).
Once that hole was drilled, we kept it level and drilled the upper right hole. Looks pretty good, but I'm waiting for bolts before drilling the lower holes. We did, however, mark where the holes should be so that I can epoxy in the gussetts once I receive the carbon fiber from Arion Aircraft's international headquarters.
Level the aircraft
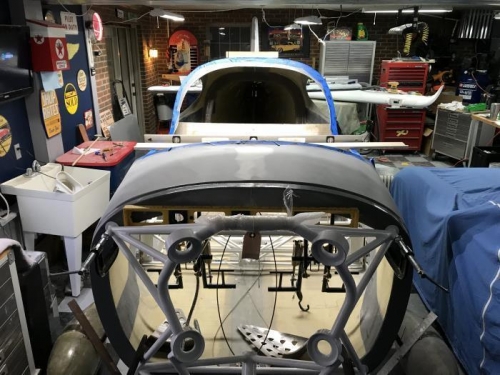
That's one of those heavy steel gussets on the cockpit floor