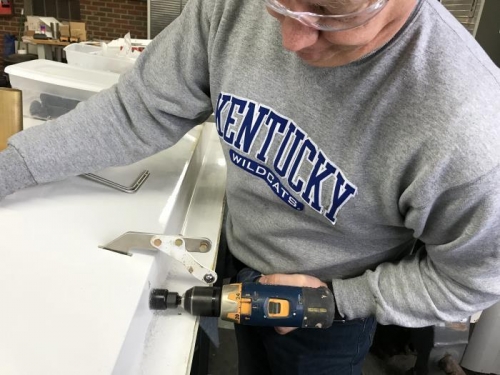
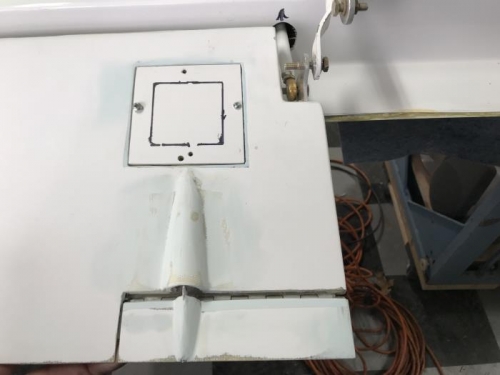
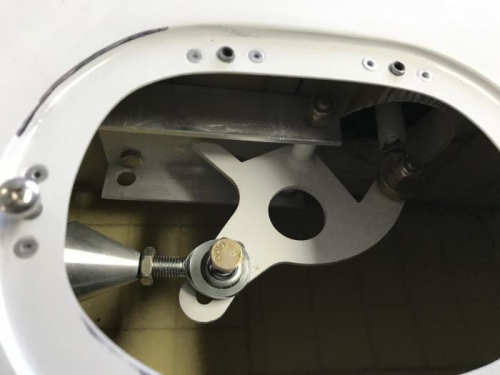
Pic 1 shows Dave drilling the hole for the bellcrank/aileron tube. Since this one is shorter, I'll call this the tube and the one that travels to the stick will be called the rod. The tube exits through a hole in the back of the wing and connects to the flap/aileron bracket as shown in pic #2. You can see the nut and bolt in the top right (about 2:00) of the bellcrank in picture 3. Access to this nut/bolt was tight, so it won't be coming off. After taking that pic, Dave added torque seal to remind us that it's on for good.
The actual tube installation didn't take long, but getting the required aileron travel required a lot of sanding to the trailing edge of the wing. The aileron was off and on 5 or 6 times. On the bright side, I did get to use my new handheld belt sander. Hat off to Harbor Freight. Great tool.
Dave drilled the exit hole
Perfect. There's a lot going on right here.
The bolt at 7:00 will be reversed to see the nut for inspection.