I've put off building the canopy as long as I could because other builder sites say this is a bear. But, I'm running out of other parts and need to do this while access to the inside is still pretty good. In my opinion, the canopy should be built earlier in the building process because of the need to get inside and help fit the canopy and clean flox that squeexes out in the bonding process. The spar box and pedals get in the way of accessing the inside once they are installed. Nick recently posted pics of a factory builder assist and they have a half-fuselage fixture they use to build the canopy which has the bottom of the cockpit cut out. Those of us building at home can't do that.
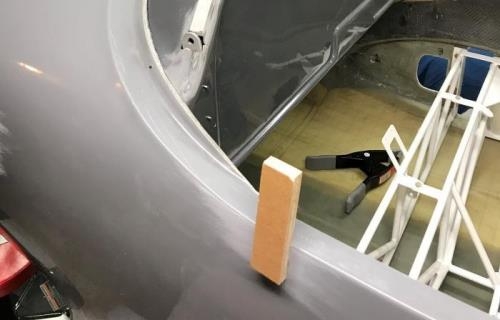
I fabricated wooded blocks with a 1/4" offset which I used to position the frame in the correct position. I used Nick's hot glue suggestion to anchor the blocks to the fuselage instead of drillling holes. Because the glue takes up a bit of space, I added a bit more offset to the blocks.
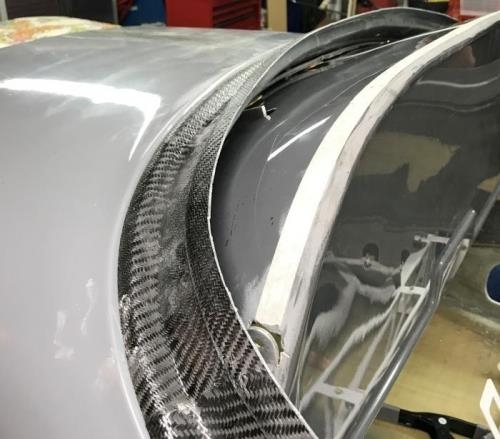
Once positioned, I could tell that I had a lot of sanding/fitting to do. Begin the sanding process. The frame is carbon fiber, so I expected it to be hard to work with. I was please to learn that the canopy sanded easily.
Positioning block hot glued to fuselage
Initial fit of canopy. Will add popsicle sticks as spacers later.