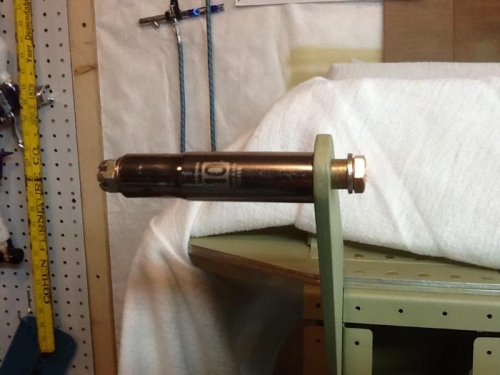
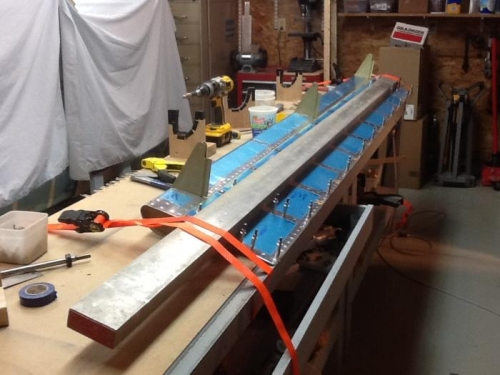
I completed the left flap today... and it is perfectly flat... just what I had hoped for. There had been a lot of discussion on the builders sites about flaps getting twisted and the problems it causes in flight... so my main goal during the flap assembly was to produce a flat (untwisted) component. To get a flat surface, you need to start with a flat surface. I leveled up and bolted my two builders tables together. Then I added another 1 1/2 x 1 1/2 piece of angle iron to the side to cleco the trailing edge to. I already had one section for the vertical stab and rudder, but needed it to be longer for the flaps. Once the table surface was addressed, I strapped the flap to the table top with two cargo staps. I wrapped them around an aluminum concrete screed (really straight and sturdy) forcing the flap to the surface. The trailing edge is clecoed to the angle every ten rivets holes and in between, I taped rivets so I could back rivet the trailing edge without moving it. It ended up really straight. I also had to press 6 bearings into the flap bracket on the wings. I drew them in using a bolt and socket... worked really well. One flap down.. one to go.
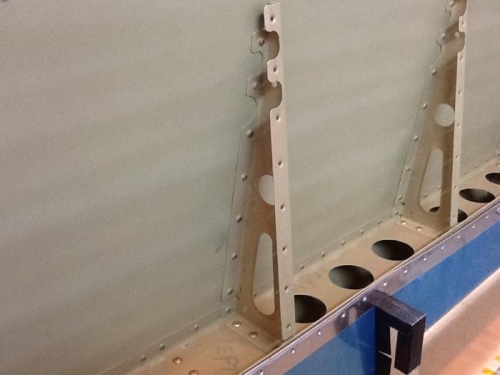
Inside photo of left top wing skin
Pressing 1/4" bearing in place
Preventing flap from twisting with concrete screed