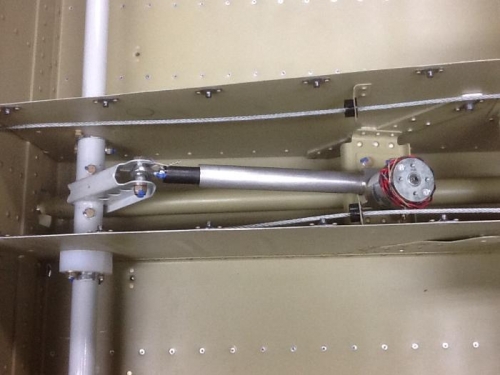
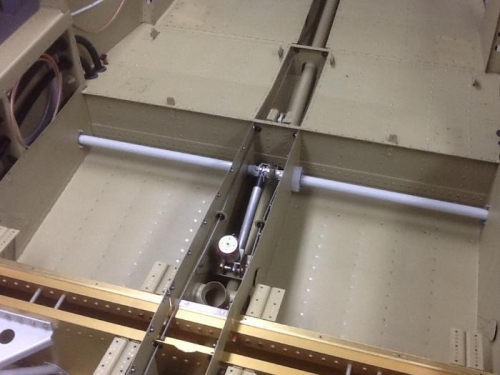
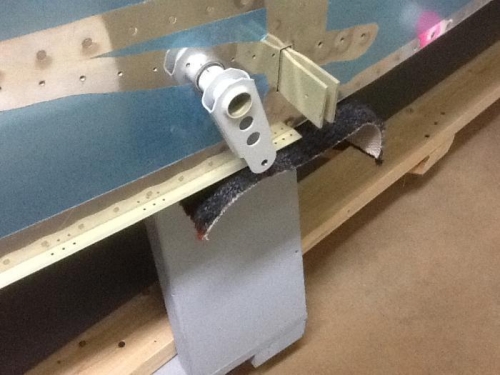
I finished shaping the remaining two bushings that secure the crank/torque tubes. Before I quit last night I epoxy coated the inside of all the tubes so they would be ready to assemble today. They were good and cured. After installing the crank/torque tubes and bushings I joined them in the center and attached the flap motor arm. All parts were checked for interference and ease of movement. All checked out ok. I drilled a hole in the end of the flap motor extension as per instructions and safety wired it to the flap crank. The flap motor was bolted in place and a castle nut and cotter pin was added. All bolts were torqued and marked with torque seal. I used a 12 volt battery to run the motor and the system worked fine. I get full travel both ways without interference. Before I quit, I fit the flap tube covers to make sure I had the proper clearance....all good.