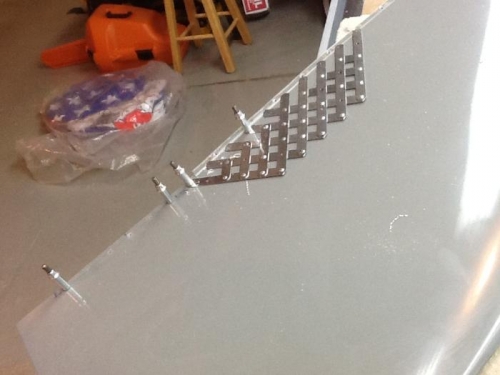
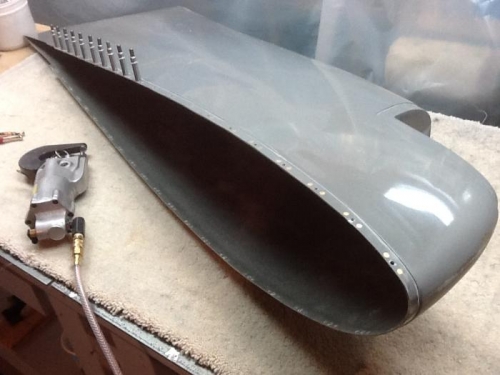
Fitting the fairing requires installing it and removing it at least a couple dozen times. After the holes were match drilled, I opened the wing skin holes up to a #28 and dimpled for a #6 screw head. That itself was not fun because of the close proximity of the wing rib to the holes being dimpled. I drilled and added nut plates to the fairling and reinstalled it. After about four hours of "fitting" I installed it with the screw fasteners.... looked real good. Once I was satisfied, I removed it to work on the NAV/Position/Strobe lens cover. I finished sanded and installed it with a couple nutplates. The NS90 lights should be here in a few days so I can install them. I did have to cut about 1/4 inch off the fairing tail to match the length of the aileron and flap. There was plenty of material left to form a sold tail section.