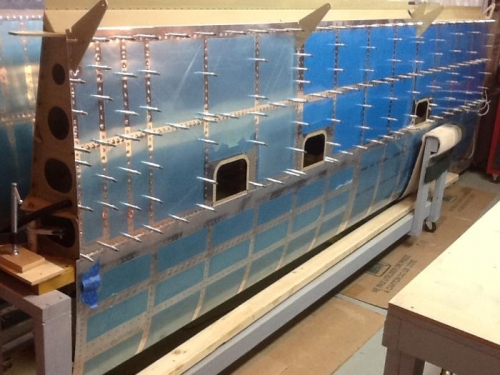
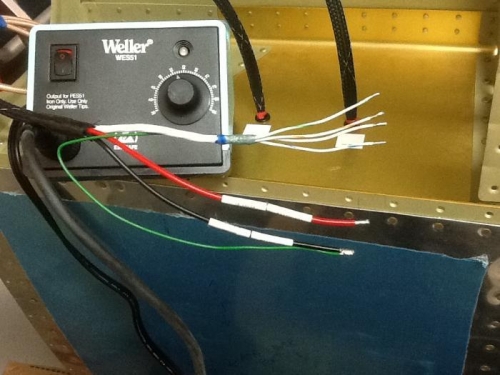
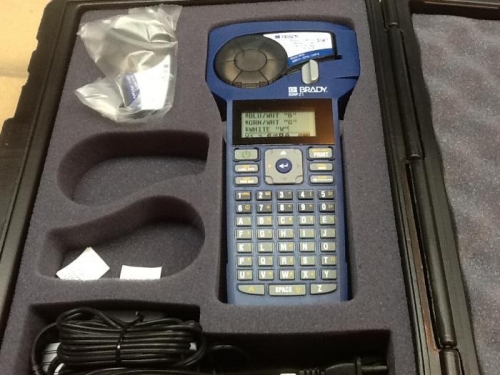
I painted the left wing bottom skins and J channel this mornig. When it was dry, I clecoed the J channel on the ribs just under my 3/4" conduit to hold the ribs straight in place. This helps while the pro-seal cures that I put on the conduit to keep it from vibrating. I will let it cure a few days before I put on the bottom skin. I also added a solder sleeve to the shielded pitot controller wire. I added a green wire and soldered that end to ground so that when it is hooked up, the shielded wire will be grounded also. I double checked all my wires to make sure that both ends had a descriptive label attached. I researched quite a few printers, and found the Brady BMP 21 the best value for my build. When all this was done, I started to attach the inboard bottom skin on the right wing. I admit, it makes me a little nervous knowing that I will no longer have access to the inside. Oh well.