Brief Description: Auto pilot wiring harness build and install
I started today by adding the autopilot components to the bellcrank I installed in the right wing. A few weeks ago I ordered my autopilot wire from Stein Air and so that I could build the harness myself. I started by putting all the wires in a drill and twisting them gently together. Then I soldered one end to a D sub connector which will attach to the autopilot servo motor when it is installed.
NOTE: I am putting off buying it because the warranty starts when you buy it.. and this plane will not fly for about two years. No sense wasting the warranty.
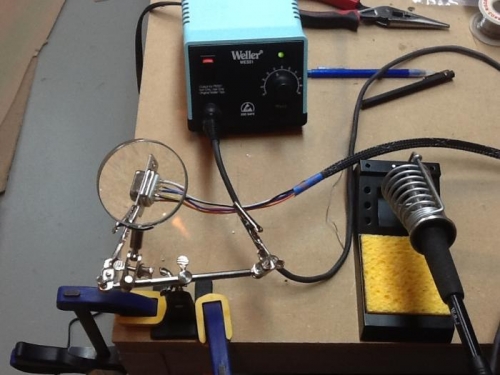
After the harness was soldered, I checked each wire for continunity and also made sure it was not grounded to any other wire. Checked out OK. Soldering was pretty easy. I used a Weller solder station which allows the technician to set his tip temperature and solder with pin-point accuracy... which is needed given the small size of the D sub. All soldering was done under a magnifying glass. (pretty small stuff) When it passed my quality check, I added a loom for the part that was going to be out of the conduit in the wing. I sealed each end of the loom with heat shrink tape. After it was installed, I used a Bradey BMP21 to create a wire loom lable for each end, making it easer to wire wire later. The inboard wire loom with eventually connect to a CPC at the fuselage so I can remove the wings if needed without cutting wires. It also makes assembling the plane easier... there will be many more wires added...