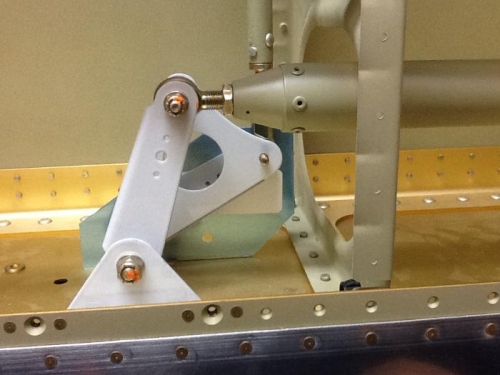
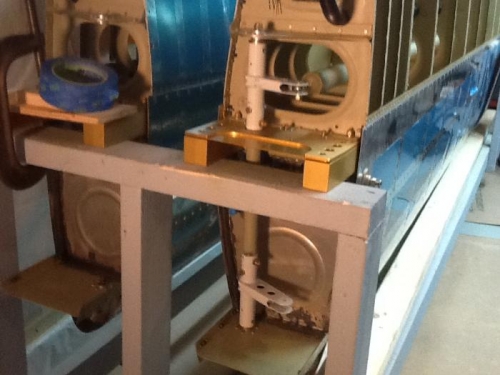
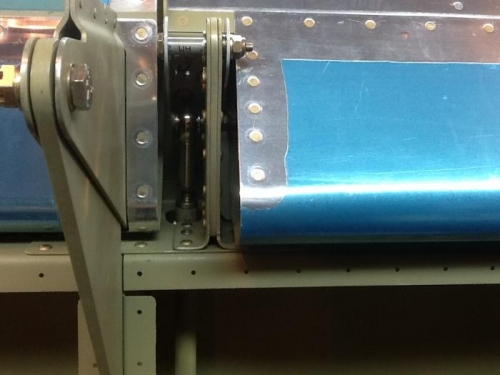
With all push rods painted inside and out it was time to assemble them and install them in the wing. Vans does a great job of giving you a starting point for specifications and all will be well if you follow their procedures to the letter. The first photo shows the left aileron bellcrank connected to the bellcrank to torque tube push tube. In the background (blue) is a template that locates the bellcrank in the precise position for neutral. With the ailerson set to neutral and the template in place... I was 1/2 way to getting everything in sync. Photo 2 shows the torque tubes on the inboard edge of the wing. With the template in place, the lower torque tube needed to be 2 9/32 inches from the fuel tank wall to be in spec. I adjusted the push tube to that exact measurement and tightened everything down. I finished both wings today. Tomorrow, I plan to look into the auto pilot assembly that gets connected to the bellcrank in the right wing. Best guess is that I may have to remove the bellcrank and drill a few attachment holes to get it done, but I wanted to make sure the assembly functioned well before adding in more functionality.