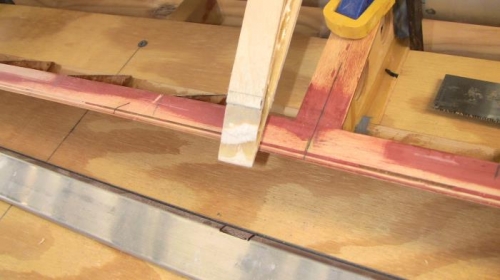
Today, while Carroll is out flying to keep current, I worked on trimming the flap ribs to accept the trailing edge. Both the top and the bottom must be trimmed. The bottom is pretty straight forward. It has to be trimmed evenly along the bottom of the rib. The top, must be trimmed at an angle equal to the trailing edge material. No biggie, if, you have four hands. I don't. So, I had to end up clamping each rib into my vice to cut the angle correctly. I had to improvise a second pair of hands to hold the assembly by using an apron hung from my garage door and tie the belt to the spar. Worked pretty well. All the angles are cut, shaped and sanded to fit the trailing edge.
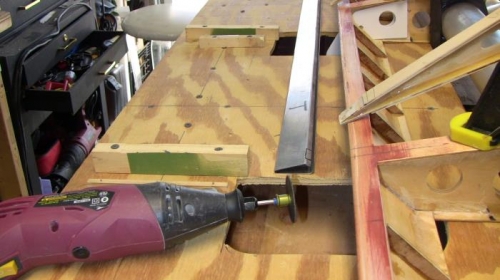
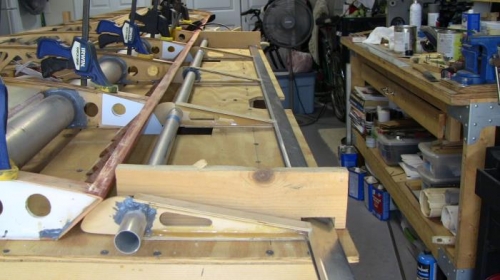
The next step was to cut the slots in the trailing edge using the notch guide I made when we built the left wing control surfaces. Quick work marking it out and I was able to cut the slot openings for each rib with a cut off wheel and my dremel tool. Using my small hand files I trimmed and shaped the notches and made the necessary trimming and filing to get everything to fit within the tolerances needed. I puled out my epoxy guides and checked the fit and now we are ready to break out the Hysol and get the trailing edge installed permanently. So, next Thursday (anniversary coming up) we will get this accomplished.