
|

|
|
|
RR3 Web Site
|
Date: 10-9-2016
|
Number of Hours: 3.75
|
Manual Reference:
|
Brief Description: Fitting Wings to Fuselage
|
|
Started the day by bringing the fuselage to my house from Carroll's (two blocks away). My Golf cart makes a great tractor!
We installed the tail wheel, mounted both wings then Measured for wing perpendicularity to the centerline. then checked again, and again, and again. Since the new spar had to be drilled, we took our time to ensure accuracy. When we were sure, we checked again, then locked them down.
Once we had it were it needed to be, we began preperations to drill out the forward attachement hole in the new spar. After sweating it out and trying not to second guess ourselves, I climbed up with the drill. with an undersized bit, just in case, took a deep breath and slowly began the process. I stopped several timeswith a prayer on my lips. As the bit moved through the wall of the spar it slid magicaly right down the sleeve. What a relief. I did not want to miss drill this blind hole but, it worked out fine. Preperation and prayer!
After reeming the hole to its proper size we drove home the retaining pin and stood back to see our progress and smile. After hydrating ourselves, we rechecked our measurements and then drilled and clecoed the forward strut attach bracket. We also test fitted our fuel tanks and marked out the root rib locations and test fitted the butt ribs. We still have some tweaking to do however to get these set properly and still have room to get the tanks installed. Not a bad days work in the hot Florida sun.
|
|
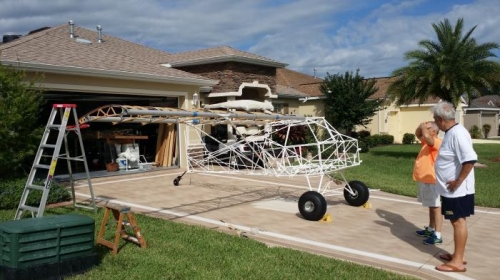
Tail wheel Installed / Right Wing Attached
|
|
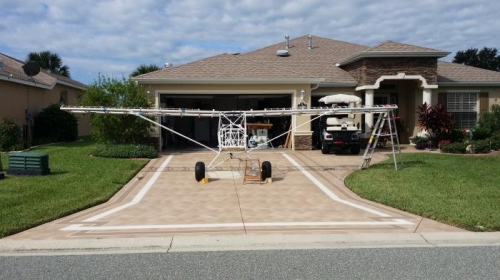
Left Wing Attached
|
|
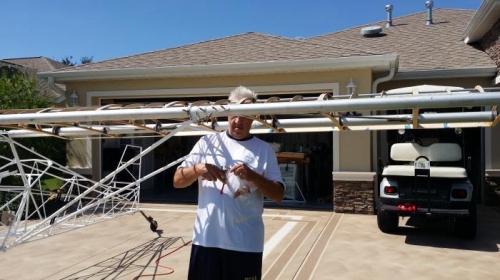
Carroll Installing Clecos on Replacement Spar
|
|
|
|
|
|
|
|
|
Copyright © 2001-2024 Matronics. All Rights Reserved.
|