After fitting the false ribs to the cabin sides, I then found that before I could continue with the rear cabin roof skin, that the rear cabin corner skins need to be fitted first, so that all skins can be secured using common holes and rivets.
First step was to reinstall the cabin side skin and use the holes already drilled as a template fot the row of holes along the lowers edge of the corners
There is no detail in the assembly procedure about the steps to be taken and if a good deal of forethought is not used in this area, rework may result.
The general sequence of assembly of these rear cabin skins in the manual and drawings is to fit these after the fuselage has been mated to the cabin, however if you do this, ease of access not only to the cabin interior fittout but also to drill pilot holesl from inside is greatly decreased.
In order to miss the rivets previously installed in the cabin frame structure, most of the pilot holes need to be drilled from inside.
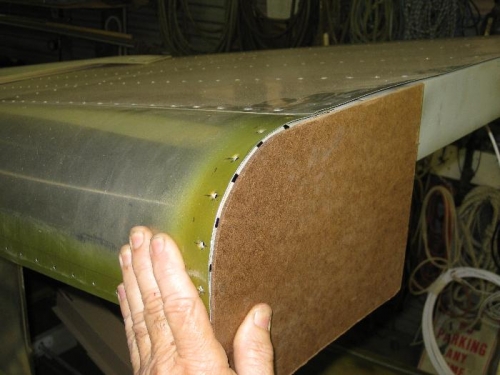
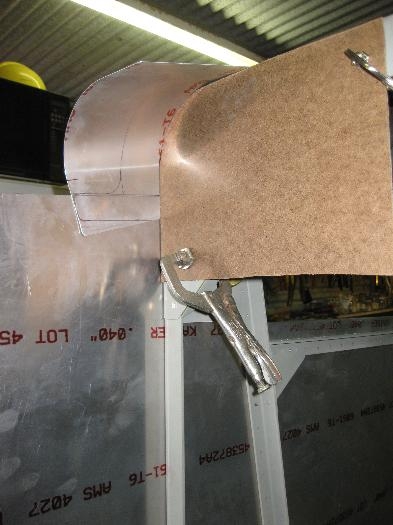
Due to the spring curve in the cabin corner skin it was necessary to make up a template of the fuselage corner and clamp this into place to generate the correct curve in the corner skins.
Once the corner is clamped in the correct position, then drill only a few holes from inside the cabin and secure with clekos.
Template of the fuselage corner
Rear left cabin corner skin clamped in situ
Template holding the cabin corner skin to the matching curve of the fuselage.