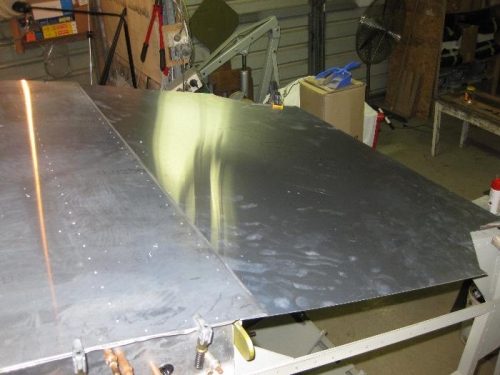
Today I fitted the forward & rear cabin roof skins, marked around the support structure from the underside, removed skins, layed out rivet lines and predrilled all holes with 3/32" drill, refitted skins and then positioned the skylight frame and marked the openings onto the underside of the roof skin.. I didn't like the thin clear polycarbonate supplied with the kit, so I substituted a thicker tinted variety that I procured locally. I decided to fit one piece across the roof because the frame was supplied in one piece and if ever they need replacing, the whole piece would need to be deriveted from both in and outside.
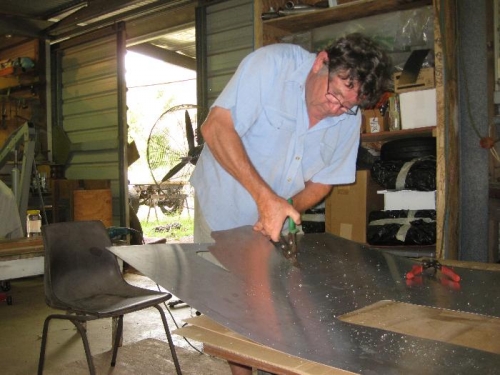
I removed the skins again, cut out the skylight openings, deburred and rolled the edges of the openings inward slightly, marked the skylight rivet lines and predrilled those.
With the pollycarb in place (and prtective coatings still intact) I then drilled all holes out to 1/8". On the rear roof skin I only drilled this skin along the joint line between the two skins as the rear cabin roof support structure is still not complete.
It was important to think well ahead and layout the rivets holes along the false wing rib on either side of the cabin to allow for the future nut plates that will be the anchor points for the gap fairing between the wing and the cabin. These rivets all need to be dimpled for flush rivets.
Cabin roof skins in position
Cutting out the skyligh openings in the forward skin.
Forward skin in place and polycarbonate drilled & clekoed.