
|

|
|
|
Home of the Spodplane
|
Date: 7-22-2020
|
Number of Hours: 2.00
|
Manual Reference: 21-06
|
Brief Description: Preparation for inverting fuselage
|
|
Pulled the wings off, with wifely assistance, and replaced on storage trolleys.
Finished bending up required fuel tubing in/out of the sump, prep sanded, and capped with heat shrink tubing. Change my mind and go back to plans wooden plugs for the blister feeds.
Note that for the first time the false ribs I have put on the spar give me a reference so I can transfer the location of the electrical conduit in the wings to the tips of the centersection spar. Blithely transfer the location of the starboard wing conduit to the port spar, drill a matching hole with a 30mm hole saw and trim smooth. Absolutely lose it when I find out I have done it backwards. Start again and discover the hole is in the right location for the port wing also, so do it the right way around for the starboard tip. Mmmmmmm. My original marked holes were out by 1" and 3".
Cut out and bondo the second set of false ribs to the spar tip, lined up with the first set.
Started to assemble the turn-over D thingies I had cut out a while ago. I drilled a 1/2" to match the outer wing bolts, then used a 27mm spade drill to make the mount the same thickness as the wing reinforcements, then opened up to 30mm with a holesaw to match the washers. I bolted the uprights to the wings using the wing bolts, (not flight units, just hardware bolts) and started nailing on the sides.
|
|
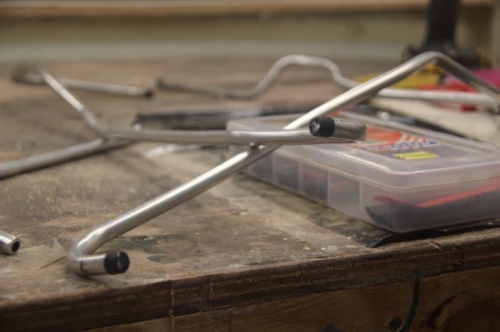
I have some regrets for every piece of metal I put in the plane
|
|
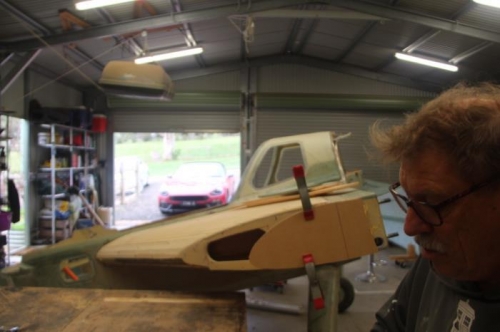
Second false rib, electrical conduit hole drilled and trimmed
|
|
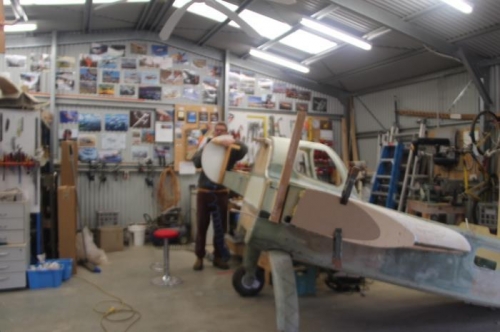
Making the turnover 'D'
|
|
|
|
|
|
|
|
|
Copyright © 2001-2024 Matronics. All Rights Reserved.
|