
|

|
|
|
Home of the Spodplane
|
Date: 5-26-2022
|
Number of Hours: 2.00
|
Manual Reference: 19-11
|
Brief Description: Complete aileron installation
|
|
Mock assemble CS151/132 multiple times, experimenting, and get it wrong every single time. I do not want to buy another tube. Cannot believe it just all went together last time...
I document the procedure I finally decided upon, written as if doing it completely from scratch. For all holes, lead with a pilot drill, drill out to 1 size under that required and ream to final size. Deburr, and mark the orientation of the parts. Do one at a time so you don't mix up parts. Don't do them 2 years apart...
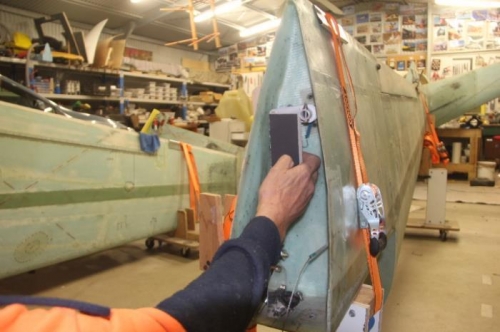
Match drill A10 and MS20271B10 universal joint BEFORE installing A10 in aileron. Then install the universal joint.
Slip un-cut CS151 tube over other end of universal joint and tape in place. Fit aileron, feeding CS151 tube through bearing, or inboard rib. Mark where it does, de-rig all and cut CS151 1/4" clear outboard of bearing/rib. Fit CS151 to uni joint, bolted at 90 degrees to A10 attachment.
Rig aileron and CS151/A10/UNI joint and clamp aileron in trail. Assemble CS132/152, wiggle around CS151 until you can fit CS132/152 and mark 1" from end of CS151. Trial rig CS127/129 & fiddle until CS132/129 meet at a 90 degree angle.
Slide CS152 1/2" out of CS151, apply a dog of superglue and replace. Wait until cured. Carefully mark in case the orientation moves whilst de-rigging.
De-rig everything and drill CS152/CS151 and bolt her up!
Best of luck. I got it right, FINALLY!
|
|
THIS is the 90 degrees you are after...
|
|
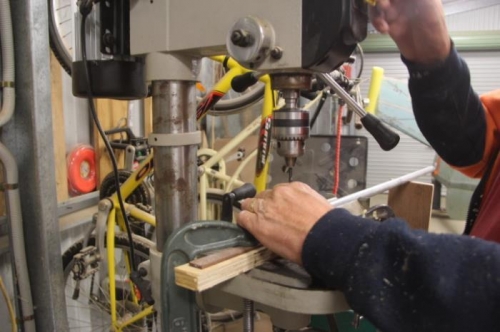
Drilly, drilly
|
|
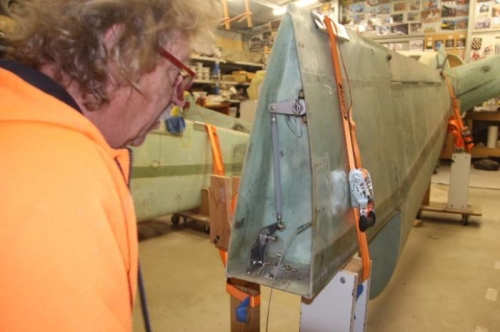
Looks in stunned amazement at correctly rigged aileron.
|
|
|
|
|
|
|
|
|
Copyright © 2001-2024 Matronics. All Rights Reserved.
|