
|

|
|
|
Home of the Spodplane
|
Date: 8-28-2014
|
Number of Hours: 2.80
|
Manual Reference:
|
Brief Description: Outer seat belt mounts
|
|
Noted last time the ply pieces moved around when glassing over them, and there was a LOT of flox underneath adding nothing but weight. Took a leaf out of the De Havilland Mosquito, and fitted the ply with a small countersunk brass screw in the middle. This squeezed a lot of flox out, made it easier to make a flox fillet around the edge, and to get the bottom parallel to the inner surface of the longeron.
I layed up the 7 x BID on the bench over a peel ply marked with the outline like last time, but cut the outline a smidgen larger each second ply with a pizza cutter to minimise the bump. The finish peel ply over the top was cut 1 cm oversize. Then I transferred it to the plan, smoothed it down, and wiped any excess outside the peel ply with paper towel.
Put some tapes over ground out epoxy runs in front of instrument panel from CH06.
Looks a lot better than last time, I'm almost glad I had to strip the first effort off.
Drilled out AL angle pieces & reamed to 1/4". Cut out with hacksaw and smoothed to shape with grinding wheel. Prepped the bits, then notice that they will be exposed. Probably need priming??? No pictures of this bit, must have hit the wrong button on the camera.
|
|
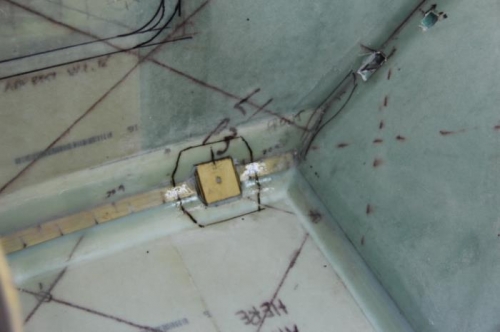
Hardpoint floxed in
|
|
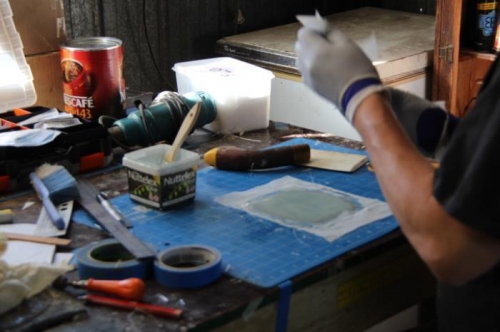
Laying up on the bench
|
|
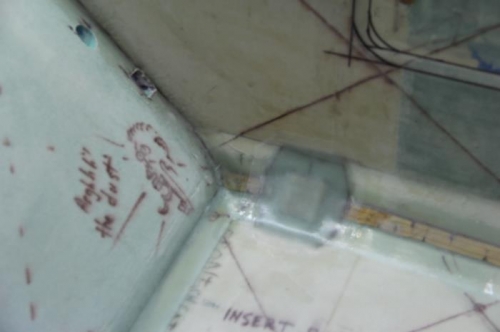
In and peel plied
|
|
|
|
|
|
|
|
|
Copyright © 2001-2024 Matronics. All Rights Reserved.
|