
|

|
|
|
Home of the Spodplane
|
Date: 1-2-2019
|
Number of Hours: 4.00
|
Manual Reference: 20-05
|
Brief Description: Winglet installation Layup #3
|
|
Shaped "Block A" and extra bits in my interpretation of the aim of the two different plans. Used hacksaw blade, dremel grinder bit on the glue lines, final profile with a file, smoothed with sanding block. Rear profile means the foam extends about 5mm above the IRBH. As others report, it is not possible to achieve a flat bevel as shown in the plans, but a curve providing a straight path for the UND. Decide after completing the bevel that it could be flatter if more foam is left at the midpoint. Might try that next airplane...
Hot glued taped wing foam blocks above and below IRBH to form the pocket. Finished prep sanding, and removing remaining glue residue from block installation. Marked up the expected outline of each layer of Layup #3, but decide this is dumb after completion. For the Layup #4 I will just mark the centerline with hack marks for each ply.
Layup #3, 2 x BID and 7 x UND, with each layer a smidge smaller as per plans. Peel ply over exposed surfaces. I alternate between wings each layer. The UND wets out by itself if you leave it alone for while.
Filled gaps over IRBH with flox, and applied 2 x BID, overlapping 2" onto the outer skin.
Use frozen zombie flox & resin from 29DEC, plus a new batch of H287 hardnener, batch 7 0249. The old has gone a bit strange with lumps in it, will use that for micro only. 0.7kg of resin used today.
|
|
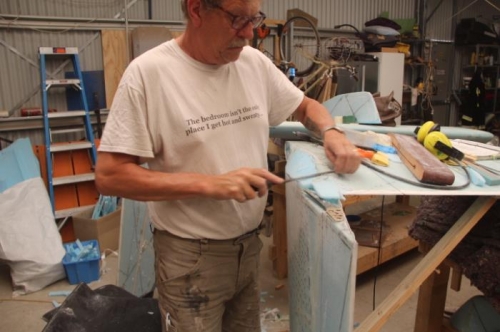
Making it straight
|
|
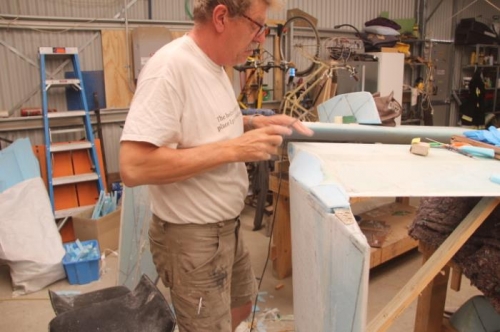
Shaping done
|
|
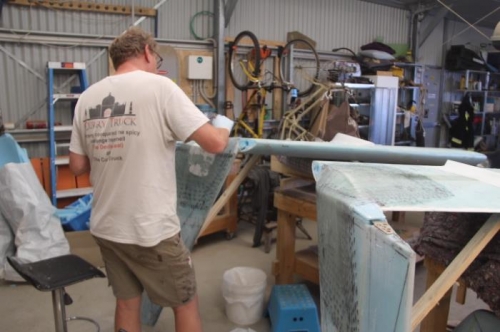
Just about done
|
|
|
|
|
|
|
|
|
Copyright © 2001-2024 Matronics. All Rights Reserved.
|