
|

|
|
|
Home of the Spodplane
|
Date: 6-4-2014
|
Number of Hours: 5.00
|
Manual Reference:
|
Brief Description: Install Heat Duct & Seatbrace. Some cleanup
|
|
Spent some time cleaning up around the inside of the fuselage, cleaning up bulkhead penetrations and tape edges, as I could see access would be less easy after the floor goes on soon.
Drilled the aileron tube holes through the Main Landing Gear Bulkheads & Firewall.
Noticed the transition in the lower longeron from square to triangular, and thought it looked a bit awkward, and was keen to make it look better. Was concerned it may have some function, so read ahead to see. In Chapter 09 Step 1 I found instructions to smooth it! This is just dumb, there is already 3 layers of glass on it, and more to come before Chapter 09. Smoothed it now to a pleasing shape with multitool and 'dremel' with a 1/2" sanding drum. I see no reason this should not have been done in Chapter 05 before taping the newly installed woodwork, and some advantage to doing it then.
The Dremel I bought to make this aircraft died before I started, the $50 Ozito I replaced it with has already outlasted it, though the bearings are getting a bit squeally. Will continue to call it 'dremel' with a small 'd'.
Plans have you assembling the Seatbrace to the Heat Duct, then installing it the next day. I floxed them into the fuselage then taped them together, clamping them into position. Got back one of the days I wasted on the Heat Duct debacle.
|
|
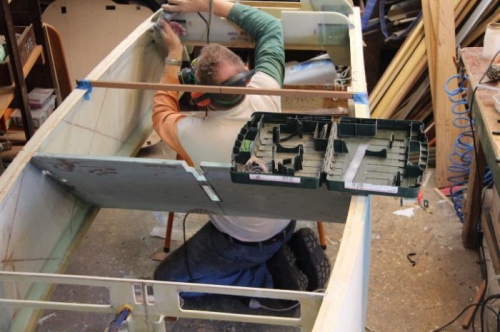
Smoothing Lower Longeron transition
|
|
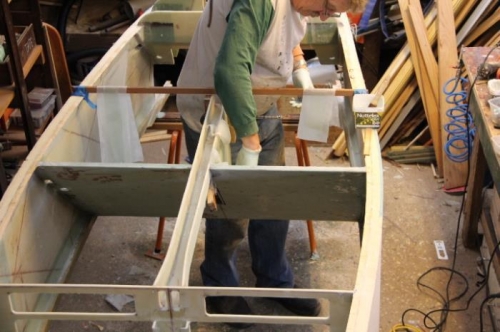
Taping Seatbrace
|
|
|
|
|
|
|
|
|
Copyright © 2001-2024 Matronics. All Rights Reserved.
|