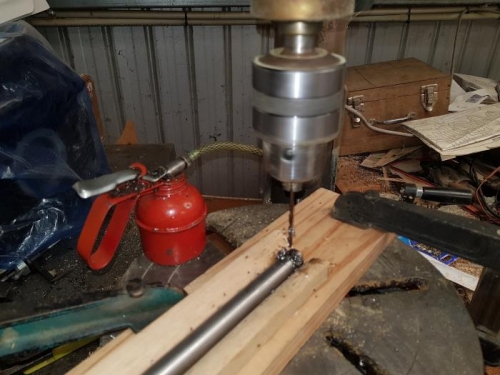
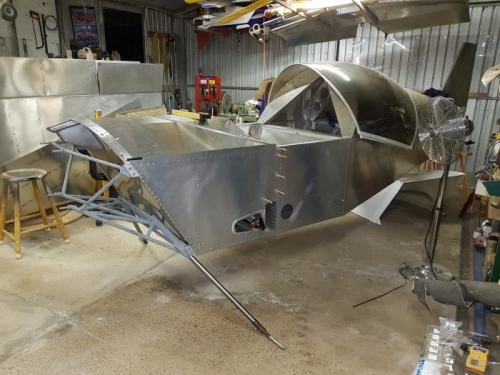
I had been worrying about this step for years now. There are lots of stories of woe regarding drilling the holes through the titanium legs. Fortunately with the practice of drilling the stainless sheet used in the firewall construction I had some practice under my belt. I used two new cobalt drill bits 1/8" and 1/4", plenty of lube and used a drill press at the slowest speed and only drilled for a few seconds each time to clean away the swarth and relube each time. I forgot to time myself, but it was around 10 mins or so to finish a hole not including setting the bar up in the jig, marking out and making a short prayer each time that I wouldn't bugger it up! I'm about to set the wheel alignment in the last photo before I make the final two holes. Also the titanium is a tight fit in the engine mount, which is handy at the moment, but I will ream the holes gently so that the legs can be removed if necessary in the future without so much inappropriate language....
Drilling the first of the holes in the titanium legs.