
|

|
|
|
Sid & Houston Mayeux Project
|
Date: 5-28-2012
|
Number of Hours: 3.00
|
Manual Reference: Canopy
|
Brief Description: Sikaflex-gluing the canopy to the frame...prep wor
|
|
Col Paul "Bugsy" Gardetto joined me today to advise me through the canopy frame/plexiglass attachment process. I have decided to go 100% using Sikaflex, with zero rivets or screws penetrating the plexiglass for attachment. Read up on Sikaflex's outstanding thermal expansion, UV resistance, and bonding strength. Also, DRASTICALLY lower risk of canopy cracking.
We first mounted the canopy frame onto the aircraft, and the plexi bubble onto the frame. After jockeying the bubble left/right/fore/aft to the point I was happy with the alignment, I strapped the canopy down tight to the frame. Then, starting at the top center of the aft canopy frame, we drilled #40 holes through the plexi into the frame. We inserted a 1/8 in thick nylon spacer into the space between the plexi and frame, and held it together with a #40 (silver) cleco. We continued this process all the way down both sides, alternating back/forth to each side for each cleco hole. Continue forward along the left/right canopy rails.
Once done, we pulled the plexi off and sharpee-marked 3/4 inch marks around the edge's perimeter, marking on the INSIDE of the canopy. Ithen used the marks to affix yellow latex electric tape as a masking line for the Sikaflex primer. I further applied 3 inch wide blue masking tape inside the yellow tape as an added buffer to protect the plexiglass.
Finally (for this step), I used the Sikaflex Aktivator cleaner to clean all the surfaces on the plexi and the canopy frame where I expect to apply Sika.
|
|
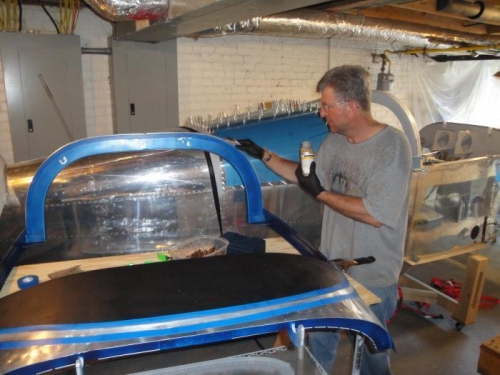
Prepping the Sika bonding surfaces
|
|
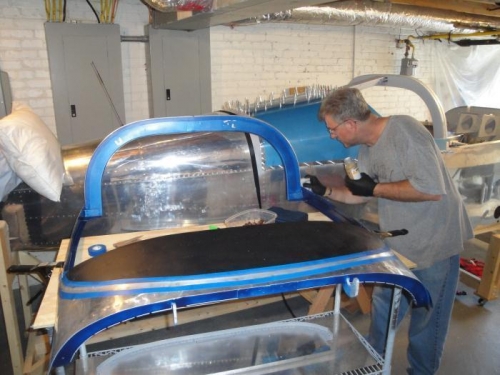
Prepping the Sika bonding surfaces
|
|
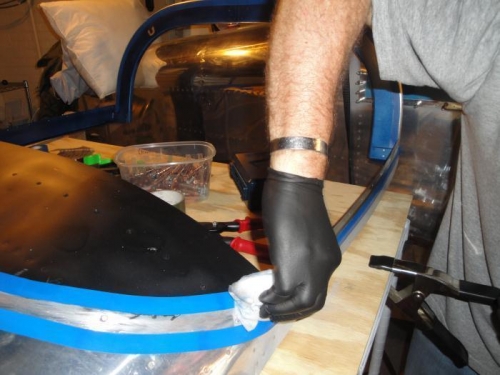
Prepping the Sika bonding surfaces
|
|
|
|
|
|
|
|
|
Copyright © 2001-2024 Matronics. All Rights Reserved.
|