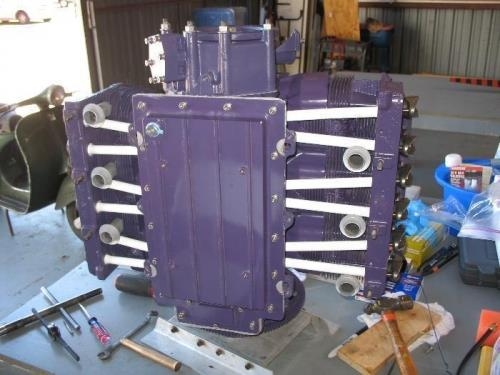
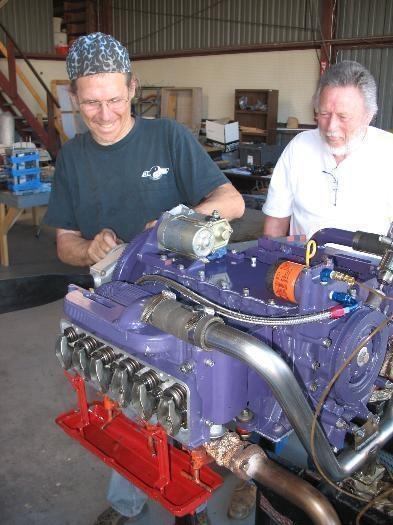
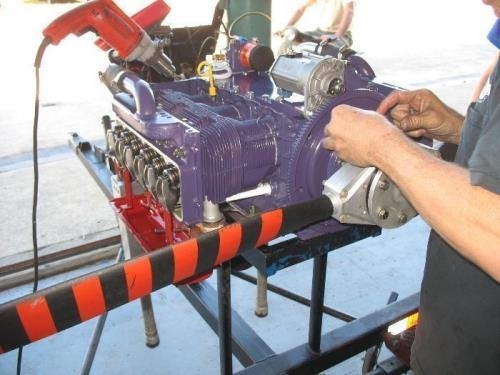
Sunday started with adding the rest of the rocker hardware and getting the heads torqued down, The torquing process takes a while to do correctly and the Finch method was followed. Once you get the process down you can start to move efficiently through it and WW had a specially made tool that meade the switching between socket sizes (one for rod studs, one for nuts) very easy. Around mid day Sunday I was doing the valve adjustments and adding the top and bottom covers to the block. The engine was attached to a special stand via the prop hub for this phase. As soon as the engine was assembled it was placed onto the test stand and rigged for first run. It was getting late in the day so there were a lot of cooks in the kitchen for this phase. In pic #3 you can see an electric drill in the upper left corner. This is connected to a modified Distributer Drive Shaft that will only turn the Oil Pump gears. A half hour at moderate speed gets the engine per-oiled and ready for the run-in. While the per-oil is taking place we used special standins for the valve covers so we could look to see if oil was comming out through the ends of the pushrods.