
|

|
|
|
TERRY'S WEB SITE
|
Date: 8-17-2014
|
Number of Hours: 7.00
|
Manual Reference:
|
Brief Description: Canopy Installation
|
|
Continue work on left side of D02-02 Canopy,
Trim left rear of canopy.
Cut & place 1/8" x 1/2" flat stock under Hook Rail Assembly for spacer to ensure canopy can be pulled down tight at front & back. Once the canopy is drilled & clecoed to the Hook Rail Assembly, its position will be fixed, so the spacer will help eliminate the possiblility of the canopy forward and aft edges bowing. If necessry the spacer could be removed, then the canopy could be pulled down tighter. I would rather have a small gap under the Hook Rail Assembly than have wavy canopy edges.
I am also not sure how the canopy is going to match up with the Hook Rail Assembly, since the canopy is curved in this area.
Tape spacer, D02-07L Canopy Side Rail & D02-14 Hook Angle, Hook Rail Assembly to Upper Left Longeron & D02-02 Canopy. Drill same #40 & cleco.
Step drill #30, 9/64", 5/32", 3/16" D02-15 Side Trim.
Drill D02-02 Canopy to 3/16" with bit for acrylic.
Drill D02-07 1/8" & tap 8-32.
Disassemble, deburr, reassemble, cleco same.
Use AN526C832R8 screws (S.S.) and secure all.
|
|
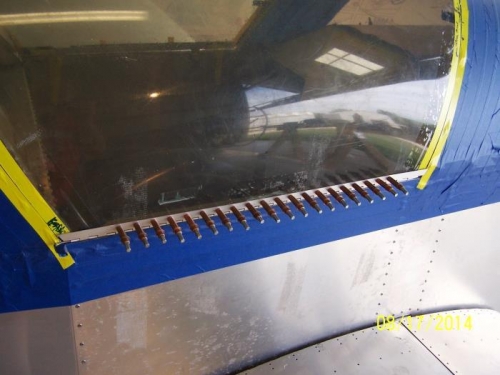
Canopy Fitted to Fuselage #3626
|
|
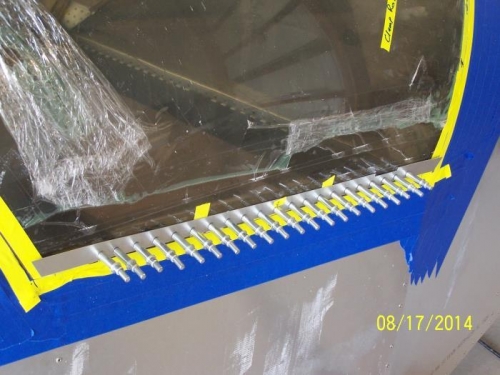
Canopy Fitted to Fuselage #3623
|
|
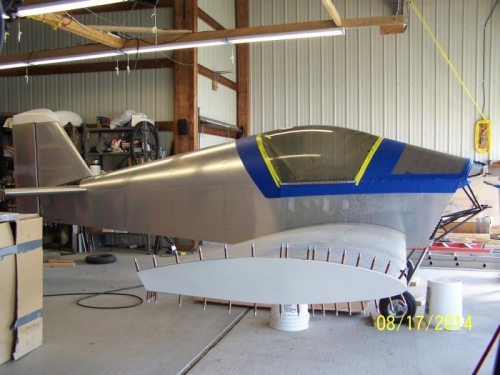
Canopy Fitted to Fuselage #3635
|
|
|
|
|
|
|
|
|
Copyright © 2001-2024 Matronics. All Rights Reserved.
|