Fabricate control yoke zero zig from scrap 063 sheet.
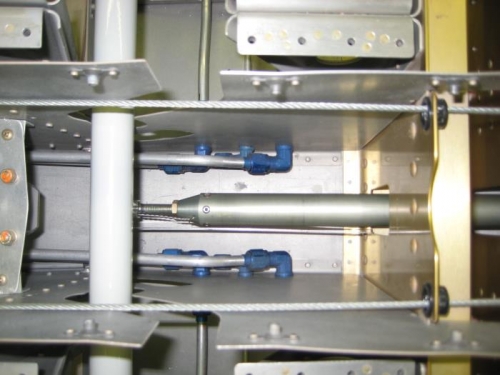
Fasten elevator mid pushrod to battery tray bellcrank using AN3 bolt.
Fasten elevator forward pushrod and control yoke zero jig to control yoke using AN3 bolt.
Clamp elevator bellcrank in neutral location using previously made jig.
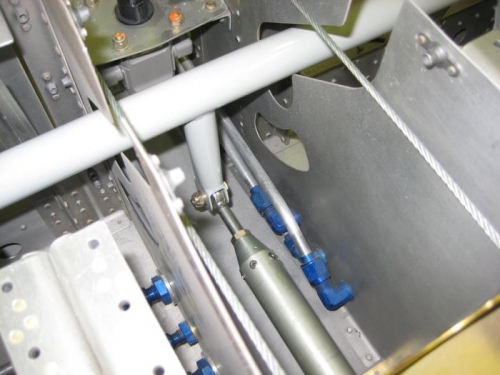
Apply nose down force to control yoke to place zero jig against spar web using rubber bands.
Verify control yoke jig touches spar web when bellcrank is neutral. I spent substantial effort to ensure that all of the fabricated pushrods were within 1/64" in length and pre- adjusted the rod bearing ends to Van's specs within 1/64". When clamped into position with the forward and aft jigs, only 1/2 turn on the forward pushrod rod end was required to zero the elevator pushrod system.
Remove control yoke jig and replace bolt with a drilled bolt, castellated nut and cotter pin. When bolt was torqued, binding occurred in the system due to the safety wire pushrod retainer.
Remove safety wire and torque bolt. No binding noted now. I will need to saftey the forward pushrod again using a smaller diameter safety wire.